Learn how to publish a roster in Payroller. Your employees will know when they are working and your timesheets will be updated
Learn how to publish a roster in Payroller with our simple guide below.
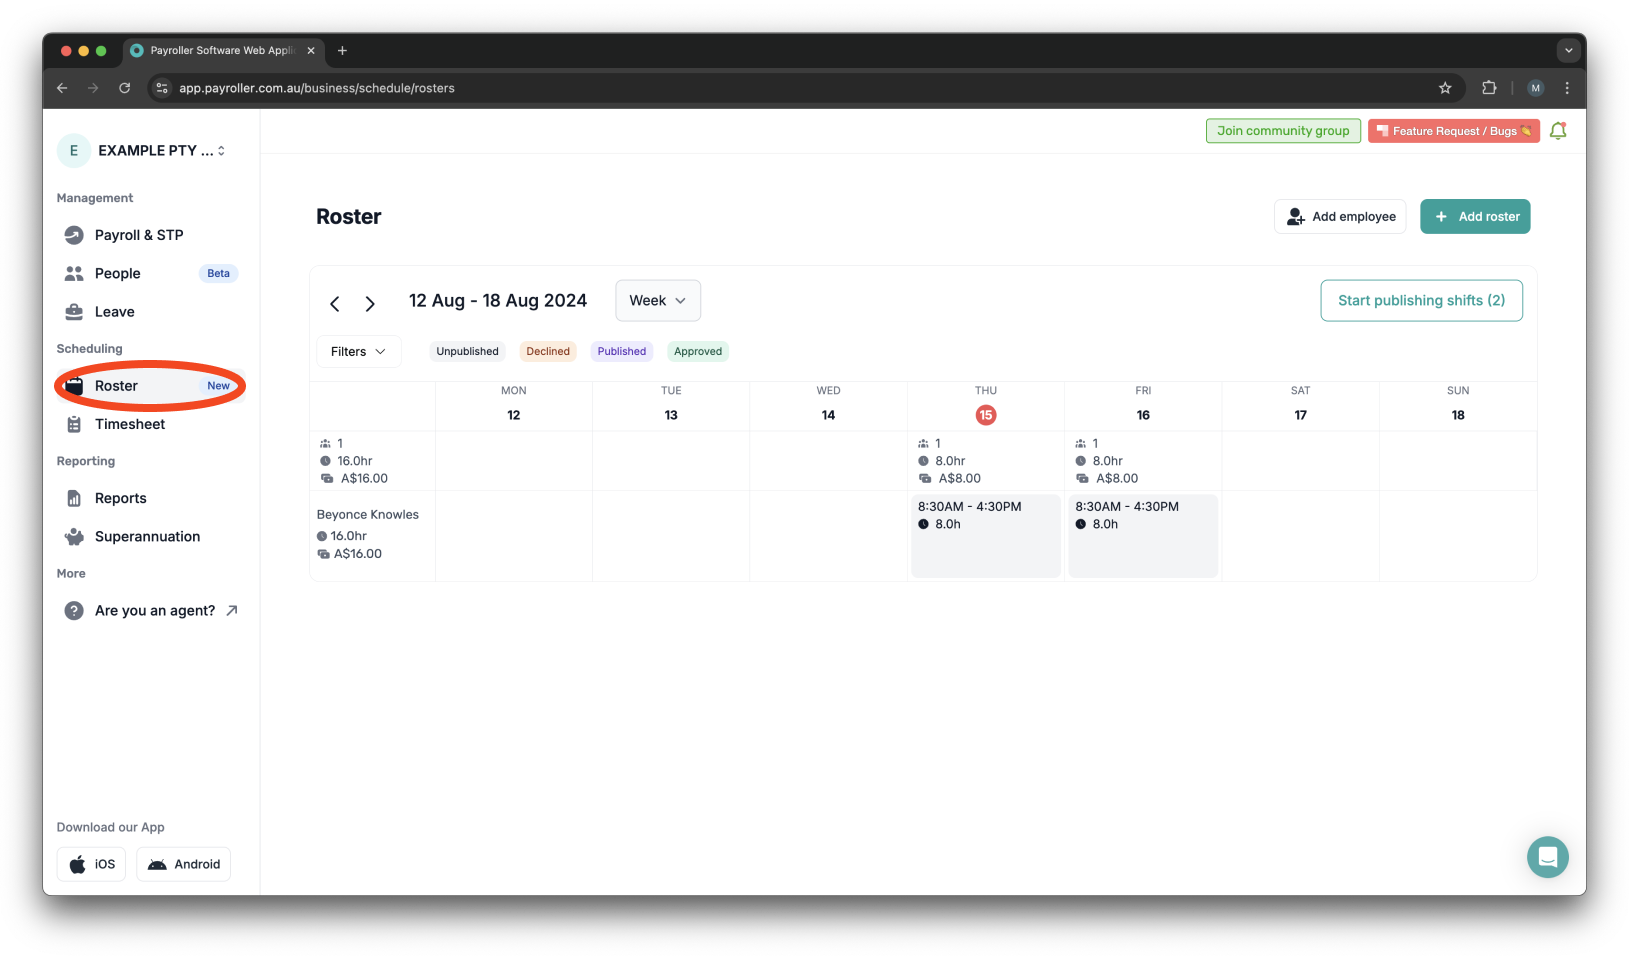
Step 1: Click on ‘Roster’.
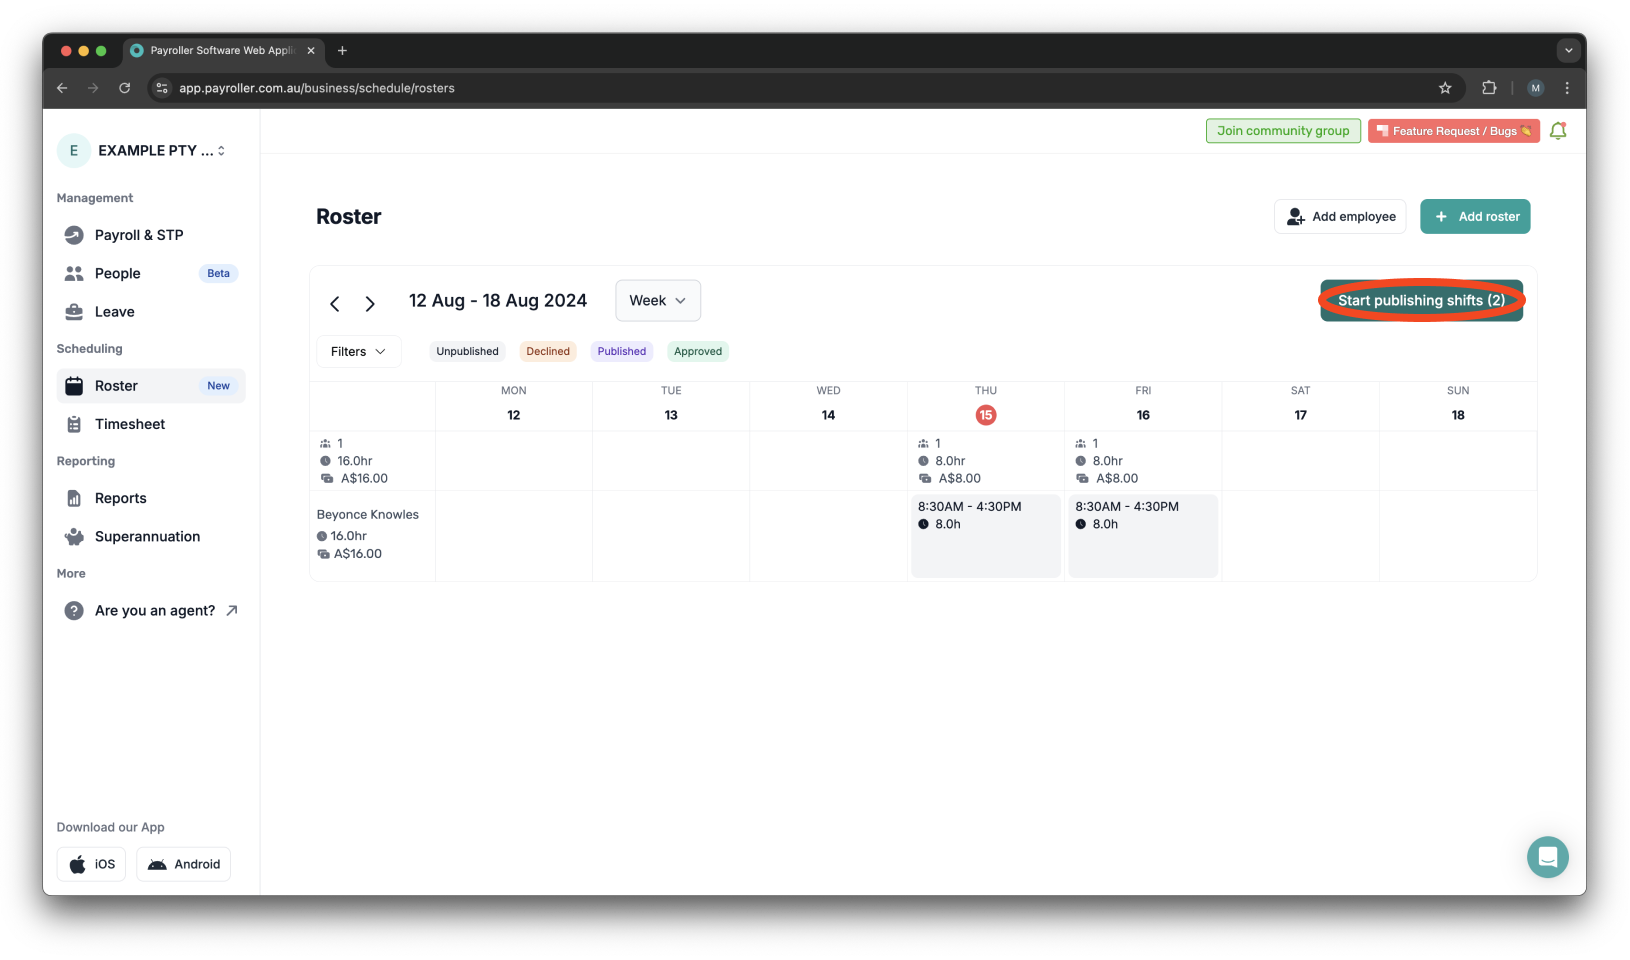
Step 2: Ensure your roster has been finalised, and click on the ‘Start publishing shifts’ button.
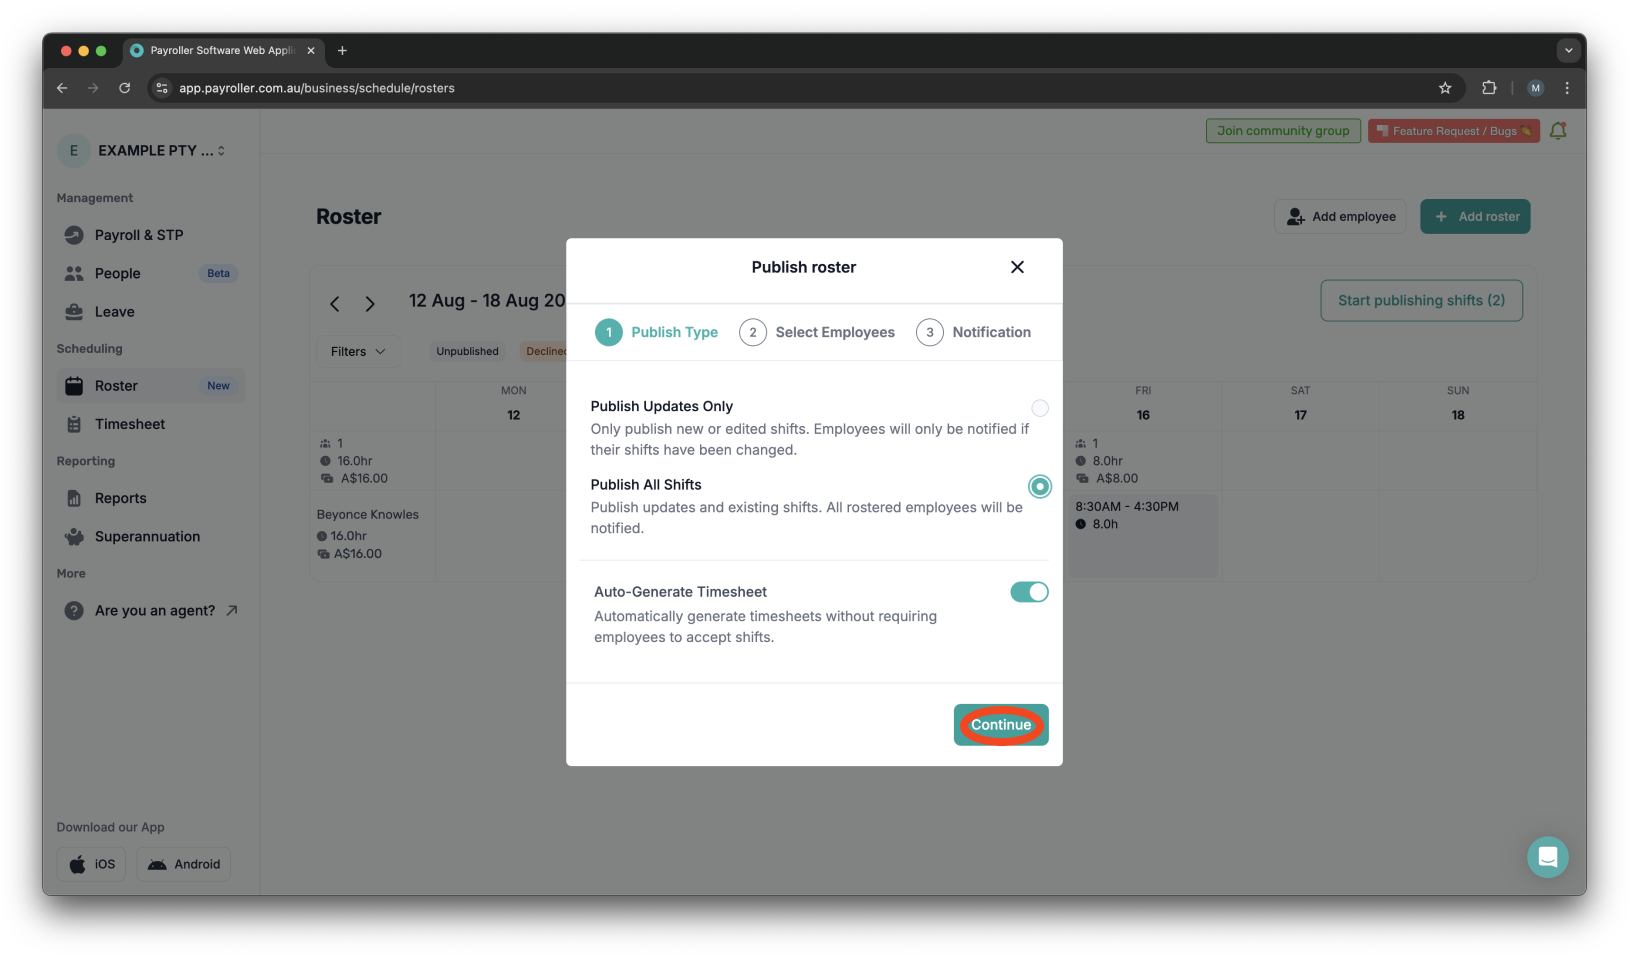
Step 3: If you are republishing your roster, select ‘Publish Updates Only’. Alternatively, if you need to publish all shifts, select ‘Publish All Shifts’ and then click ‘Continue’.
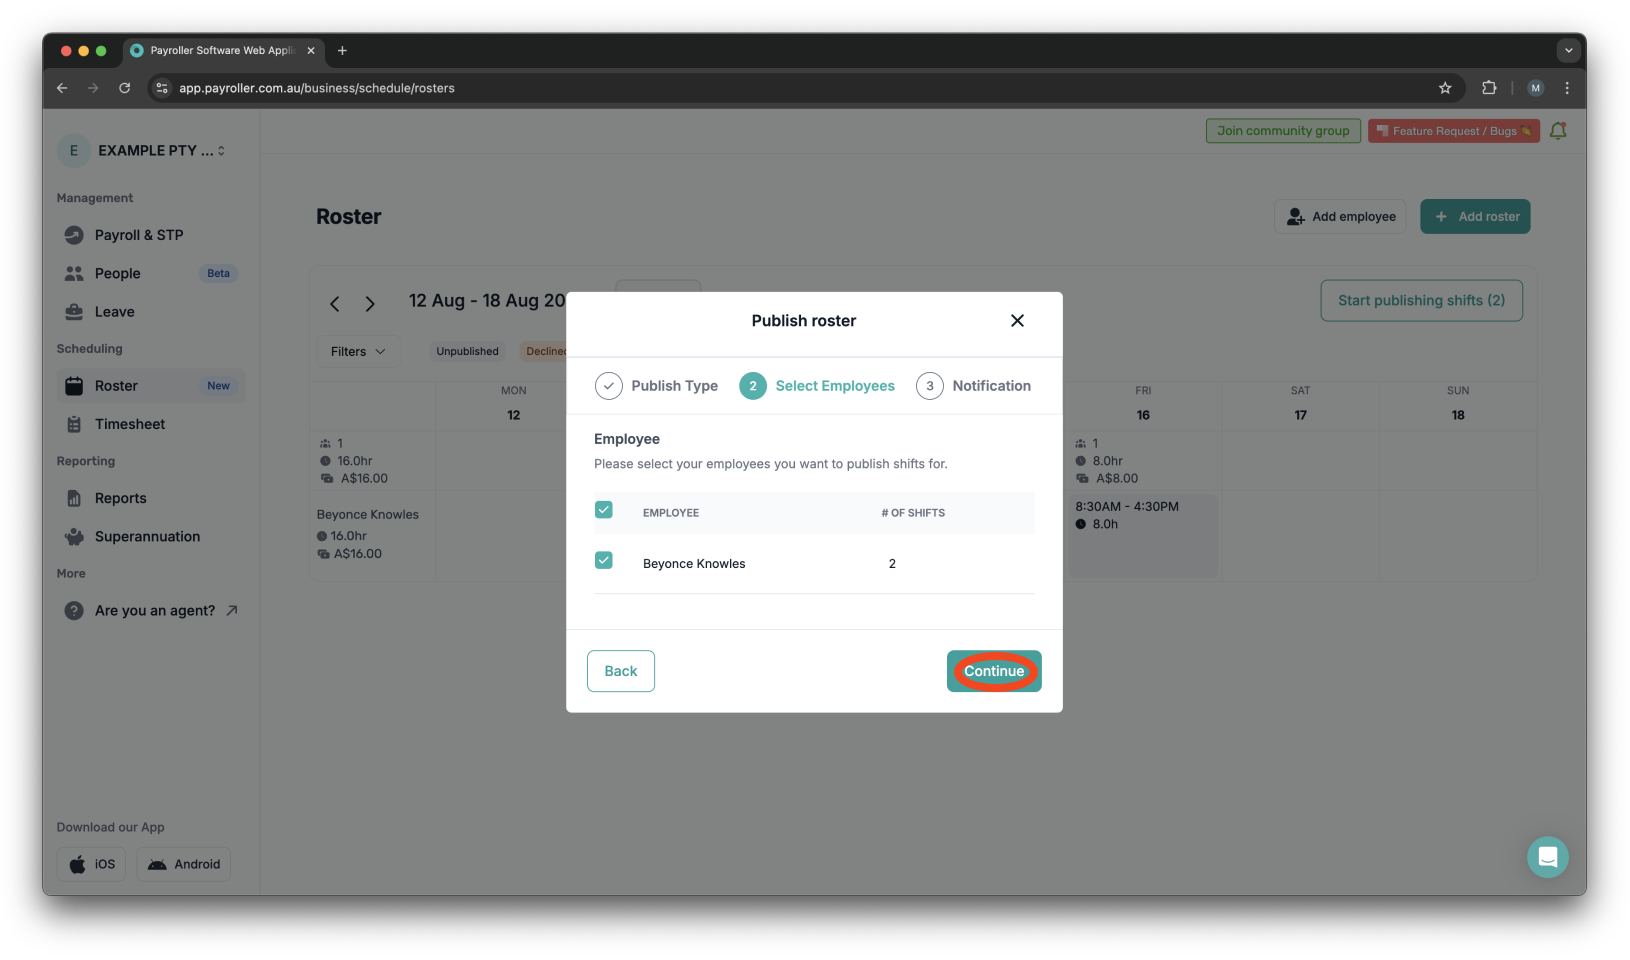
Step 4: Select the employees you want to publish the roster for.
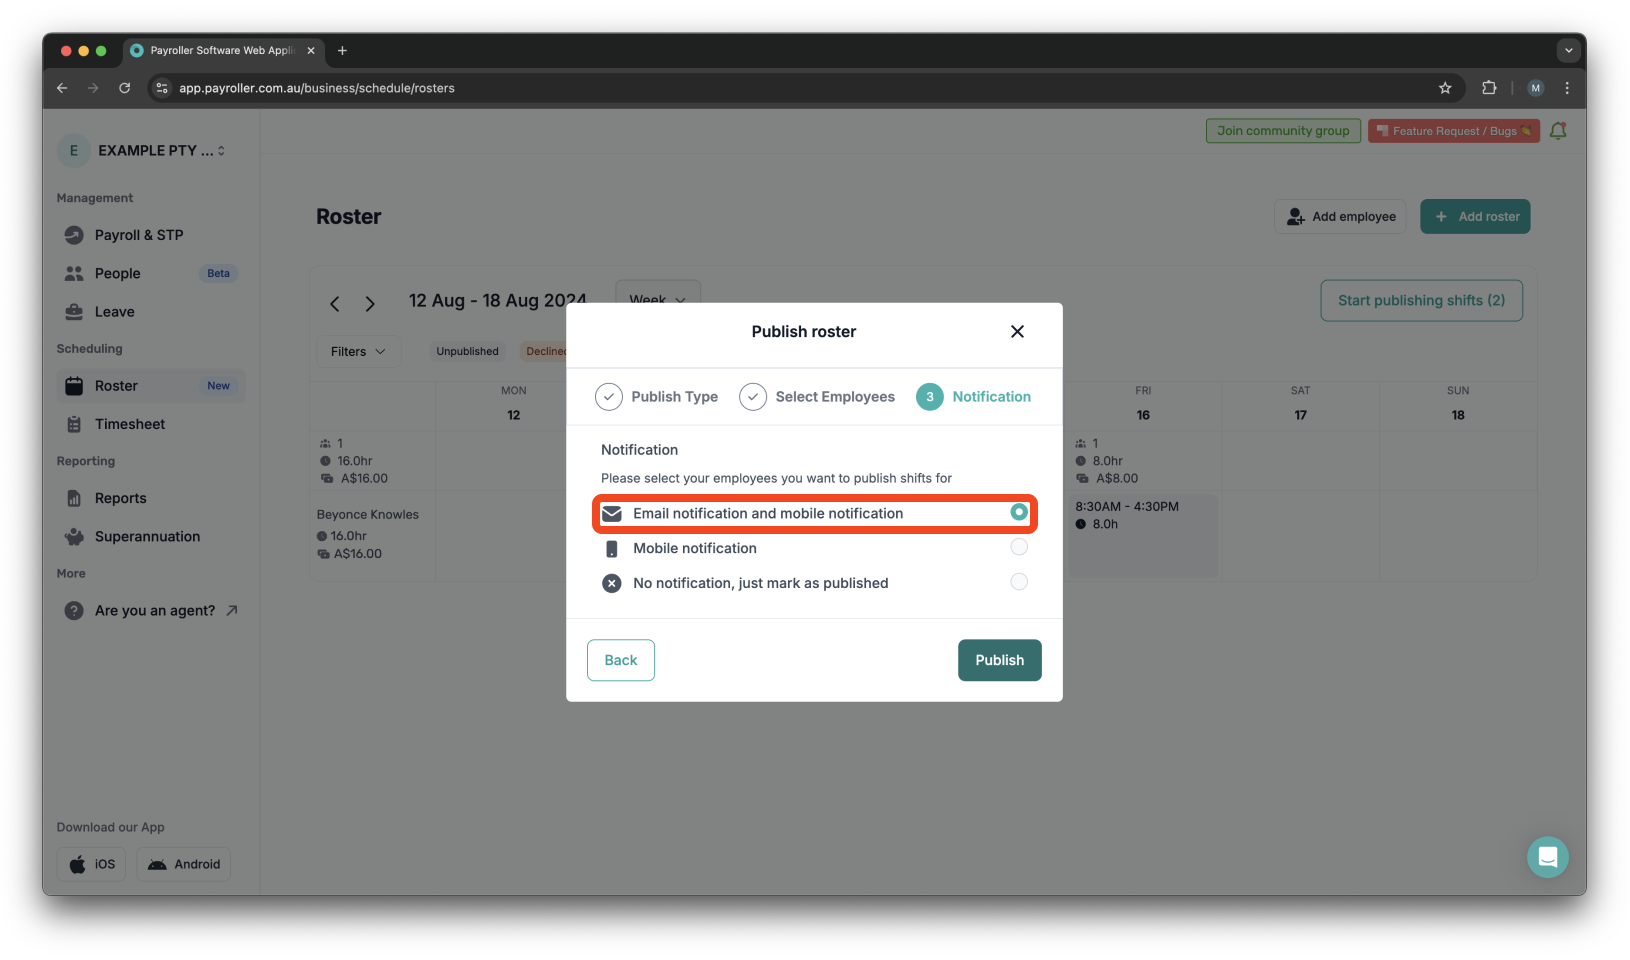
Step 5: Choose how you want to send your staff their shifts. You can send it via email, mobile notification, or just mark it as published.
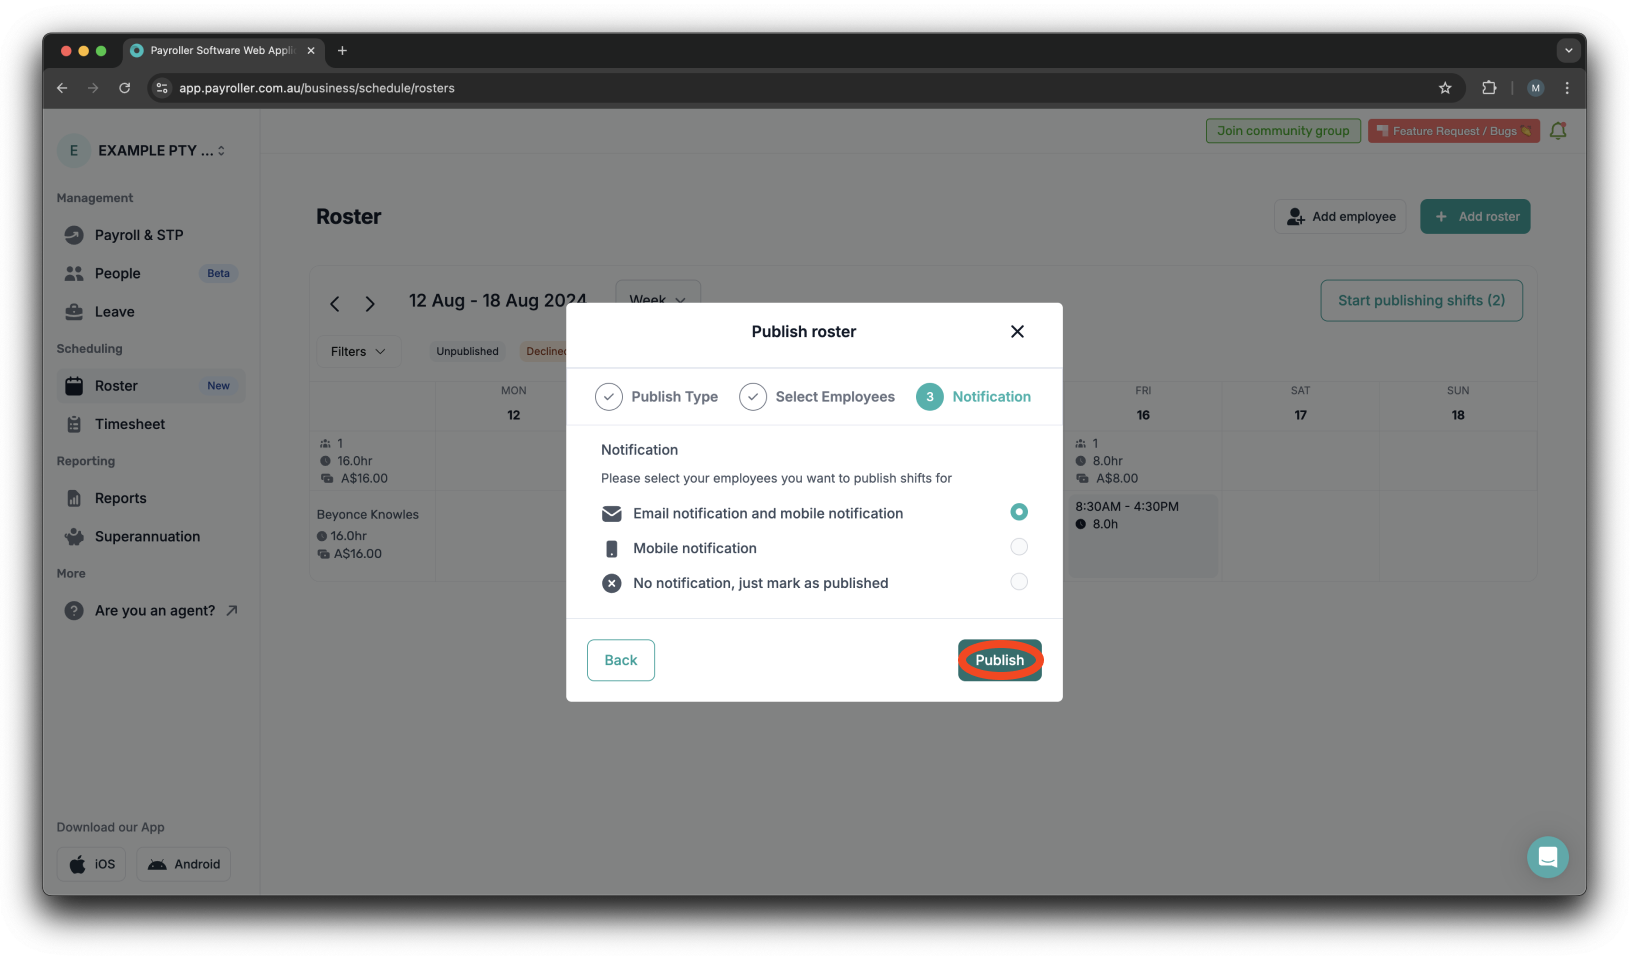
Step 7: Click ‘Publish’.
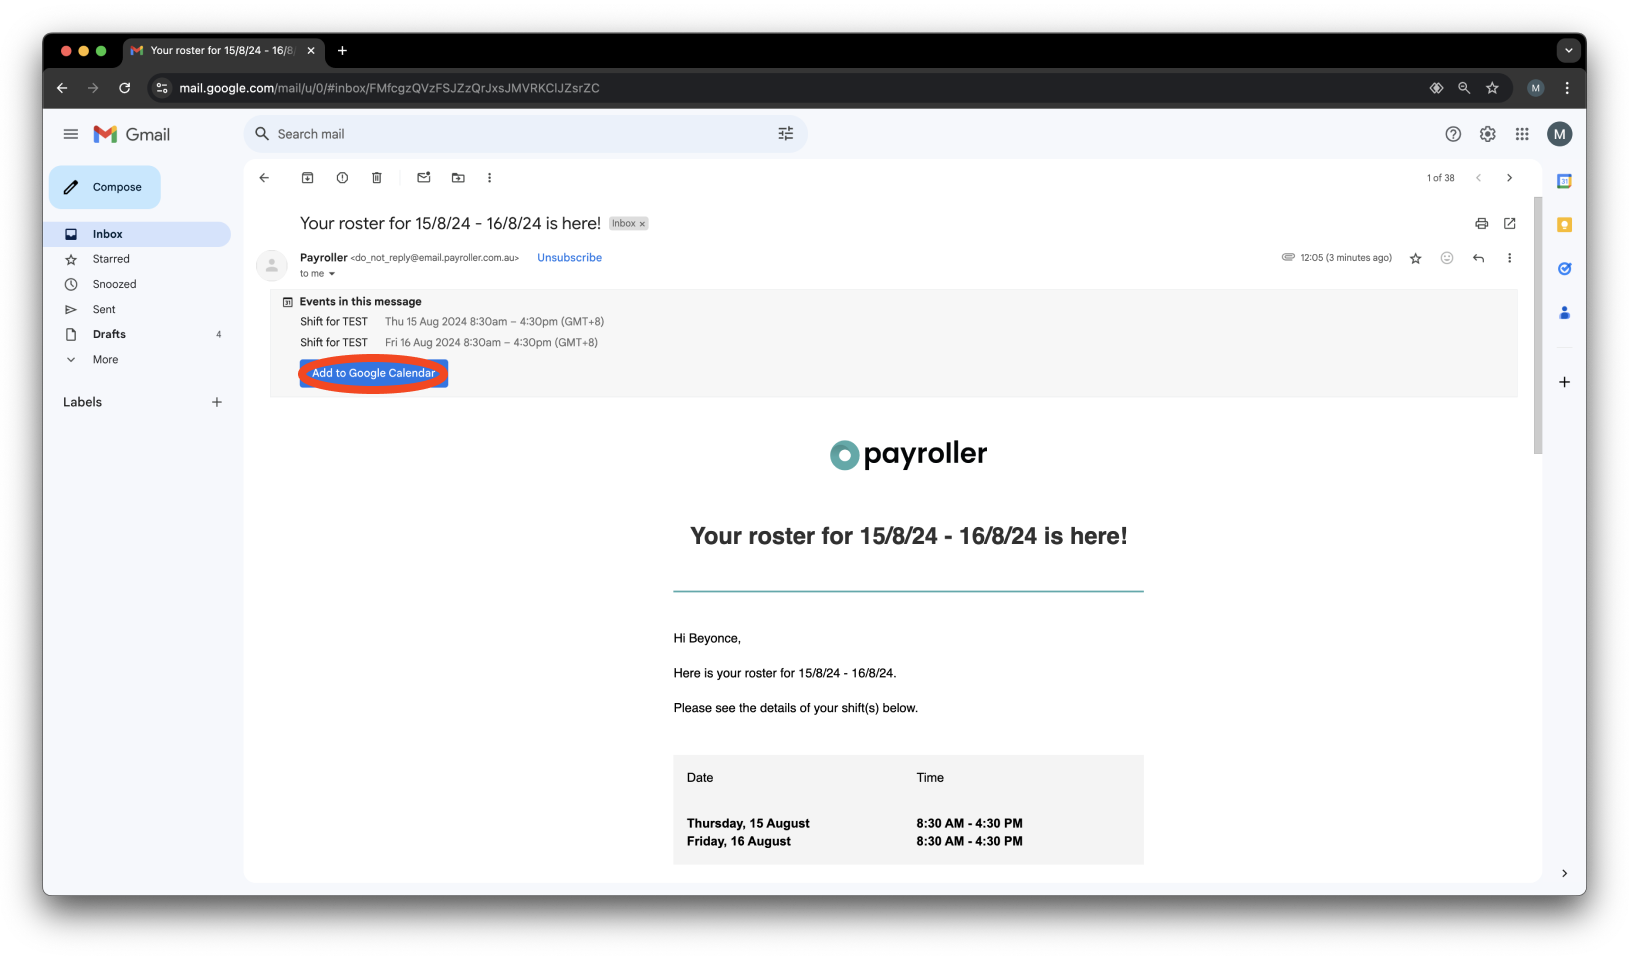
Your employees will receive an email with the details, and they will have the option to add their shifts to their calendar.
If your employee has the employee app, they will receive a notification from their account, where they can accept or decline a shift.
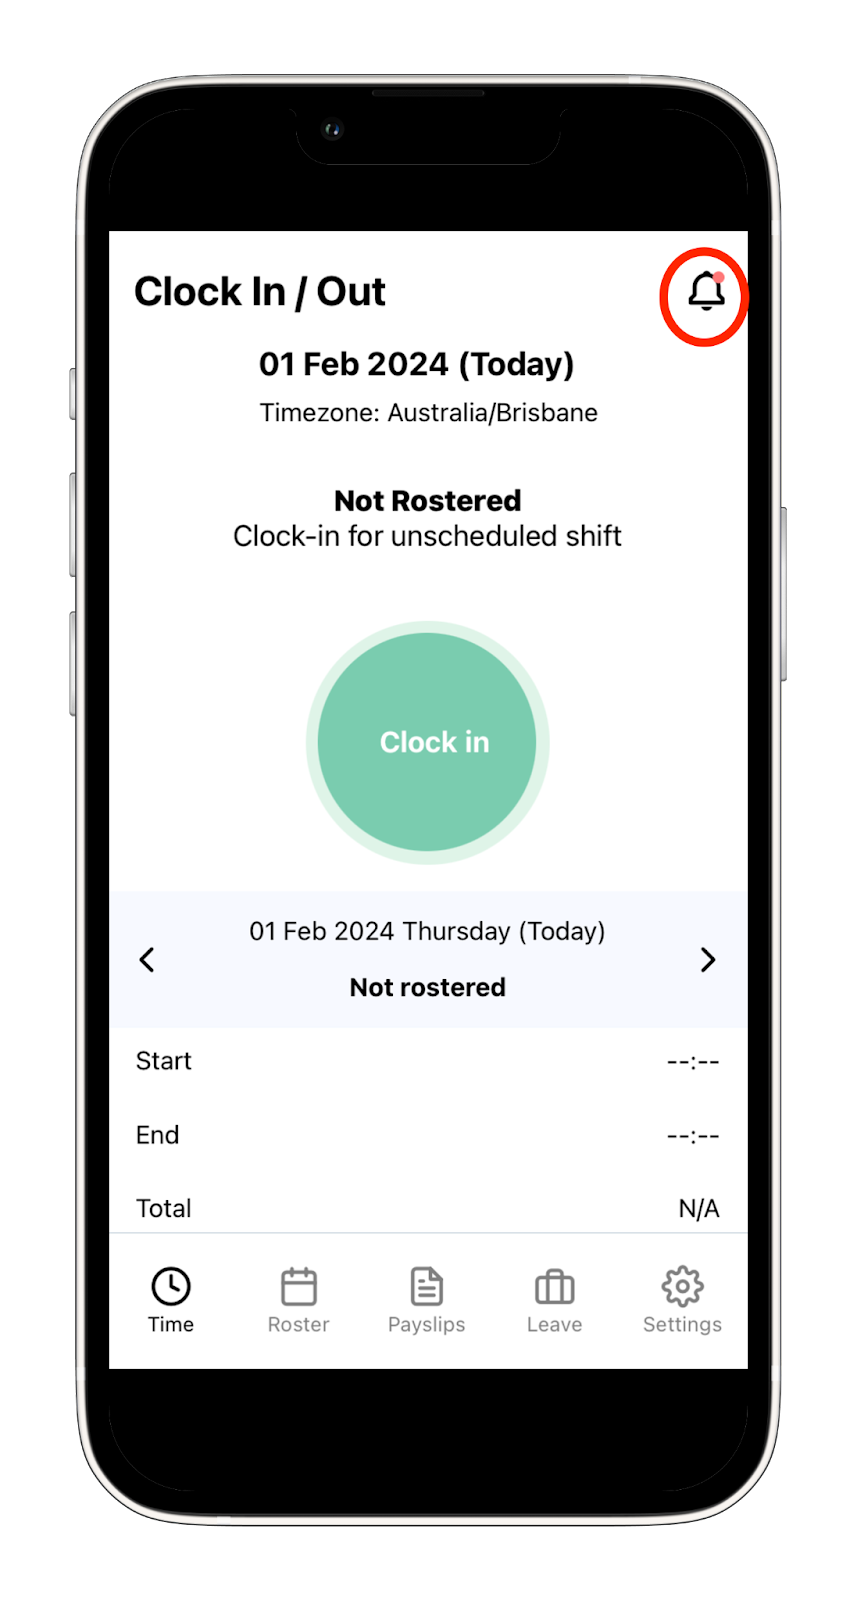
Select this bell to see whether your employee has accepted or declined the shift.
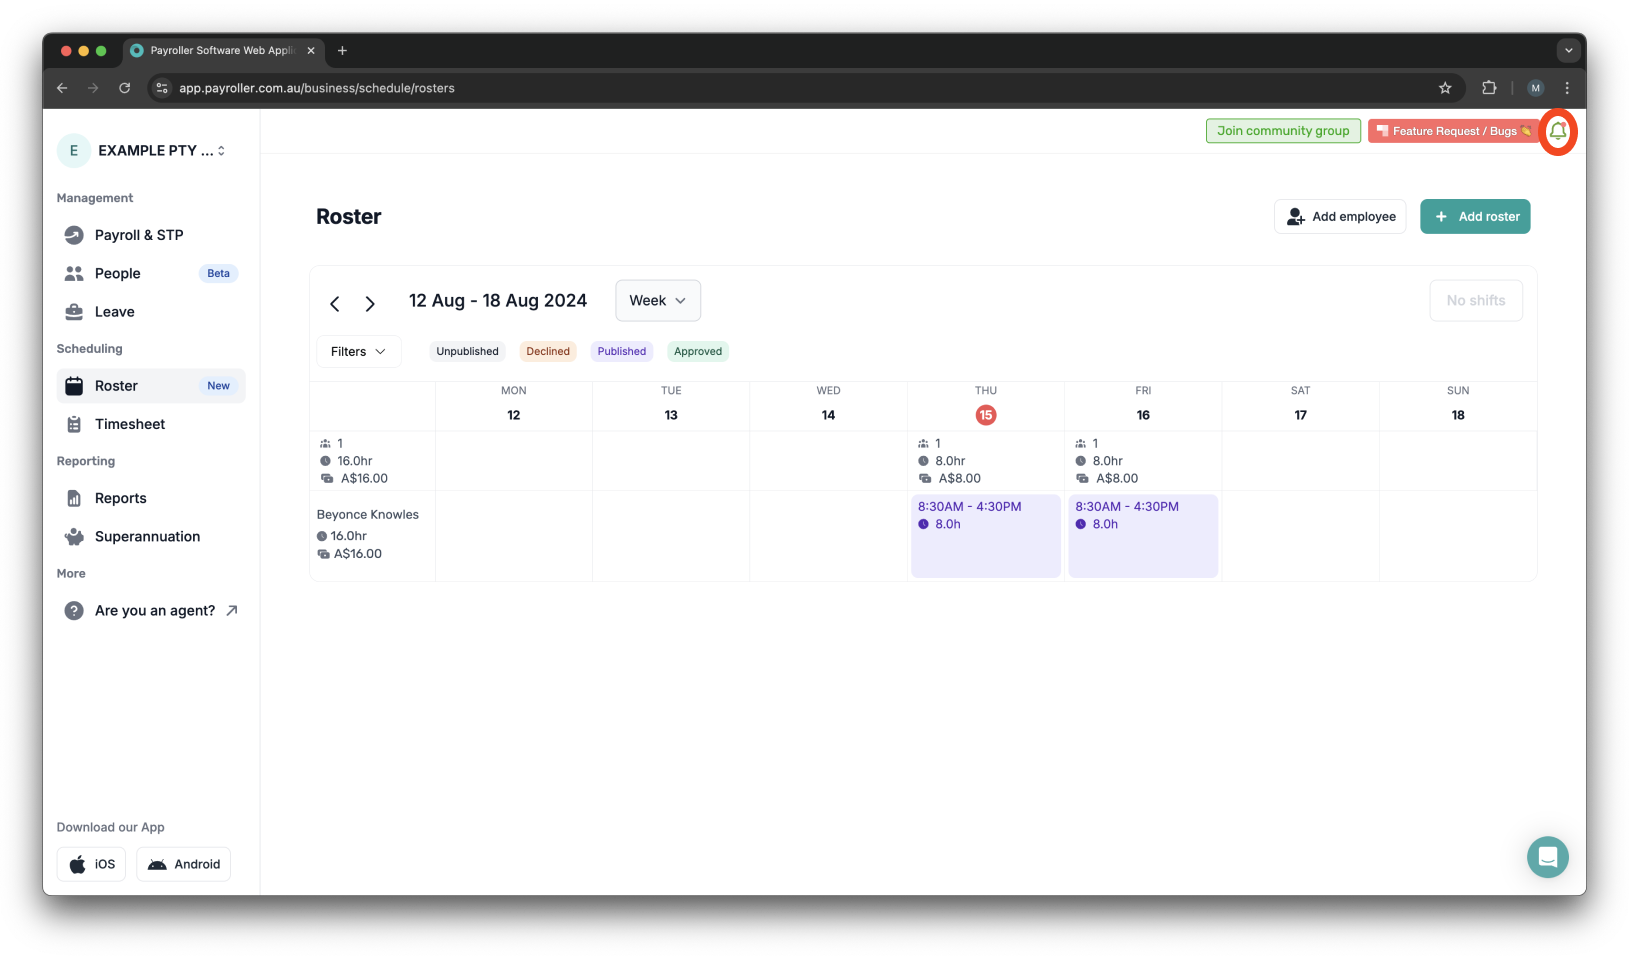
On the Roster, the color green will indicate that a shift has been accepted, whereas a shift that is declined will turn orange.
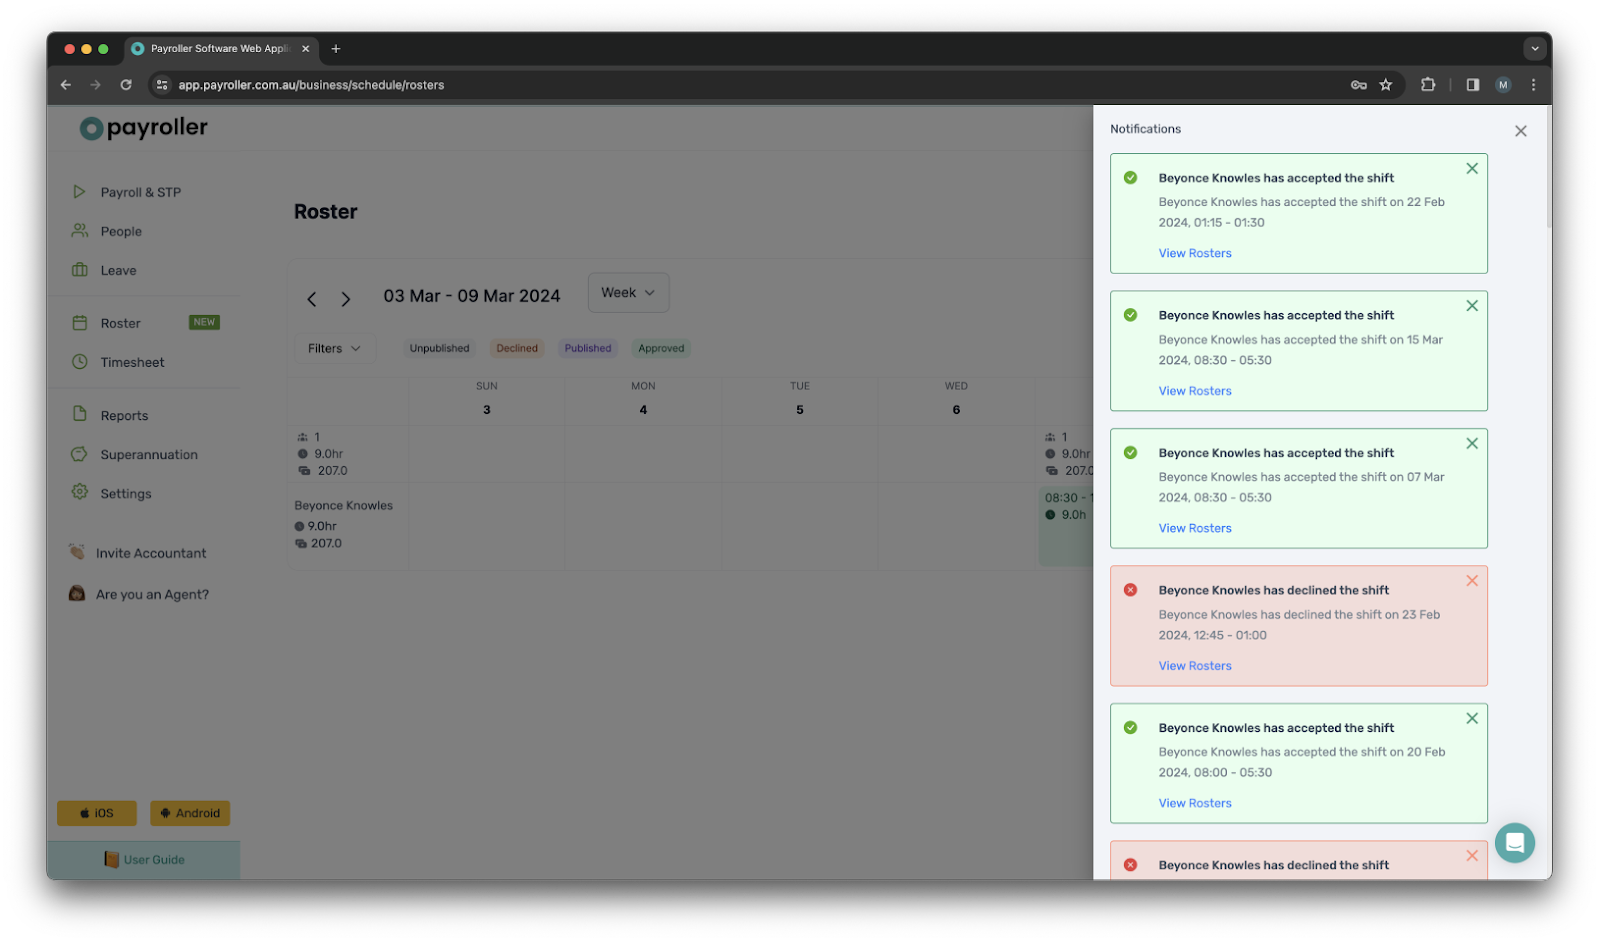
Please note: If an employee has accepted or declined a shift by mistake and missed their chance to change it, the employer can remove, edit, or add the shift from the business account and publish it to let the employee know.
Learn how to complete other timesheets and rosters functions on Payroller with our other simple guides:
Discover more tutorials for using Payroller
Sign up to Payroller for timesheets and online rostering solutions.
Access all Payroller features including single touch payroll (STP), staff scheduling and timesheets in web app and mobile app with a Payroller subscription.
Learn more in our Subscription FAQs.