Learn how to send, view and print payslips in Payroller
Learn how to send, view and print payslips in Payroller with our simple guide below.
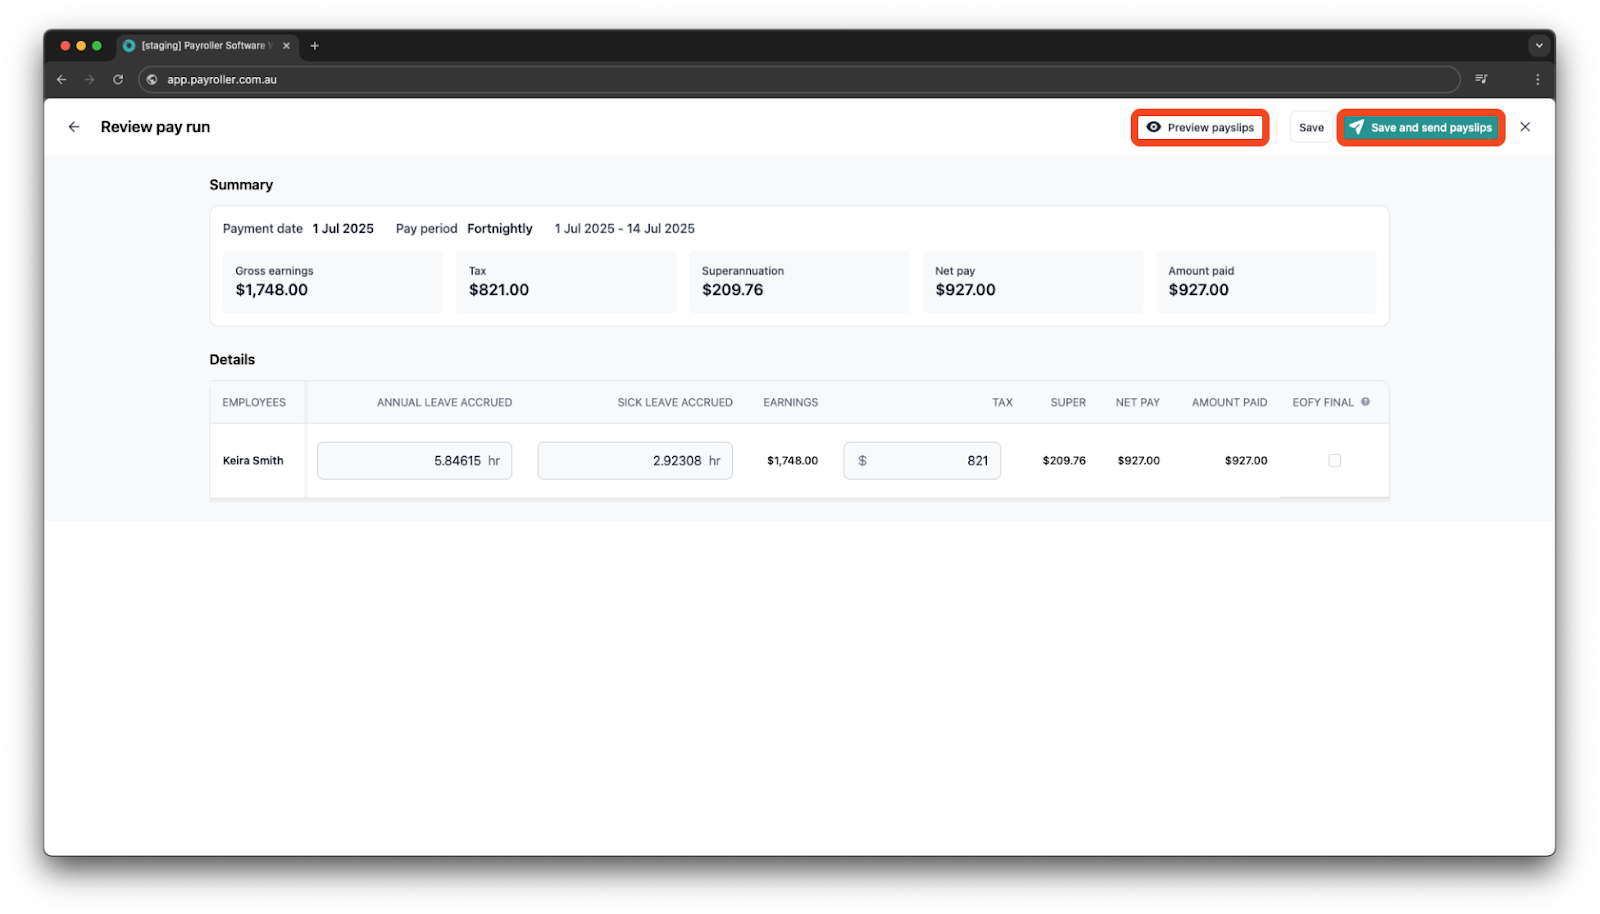
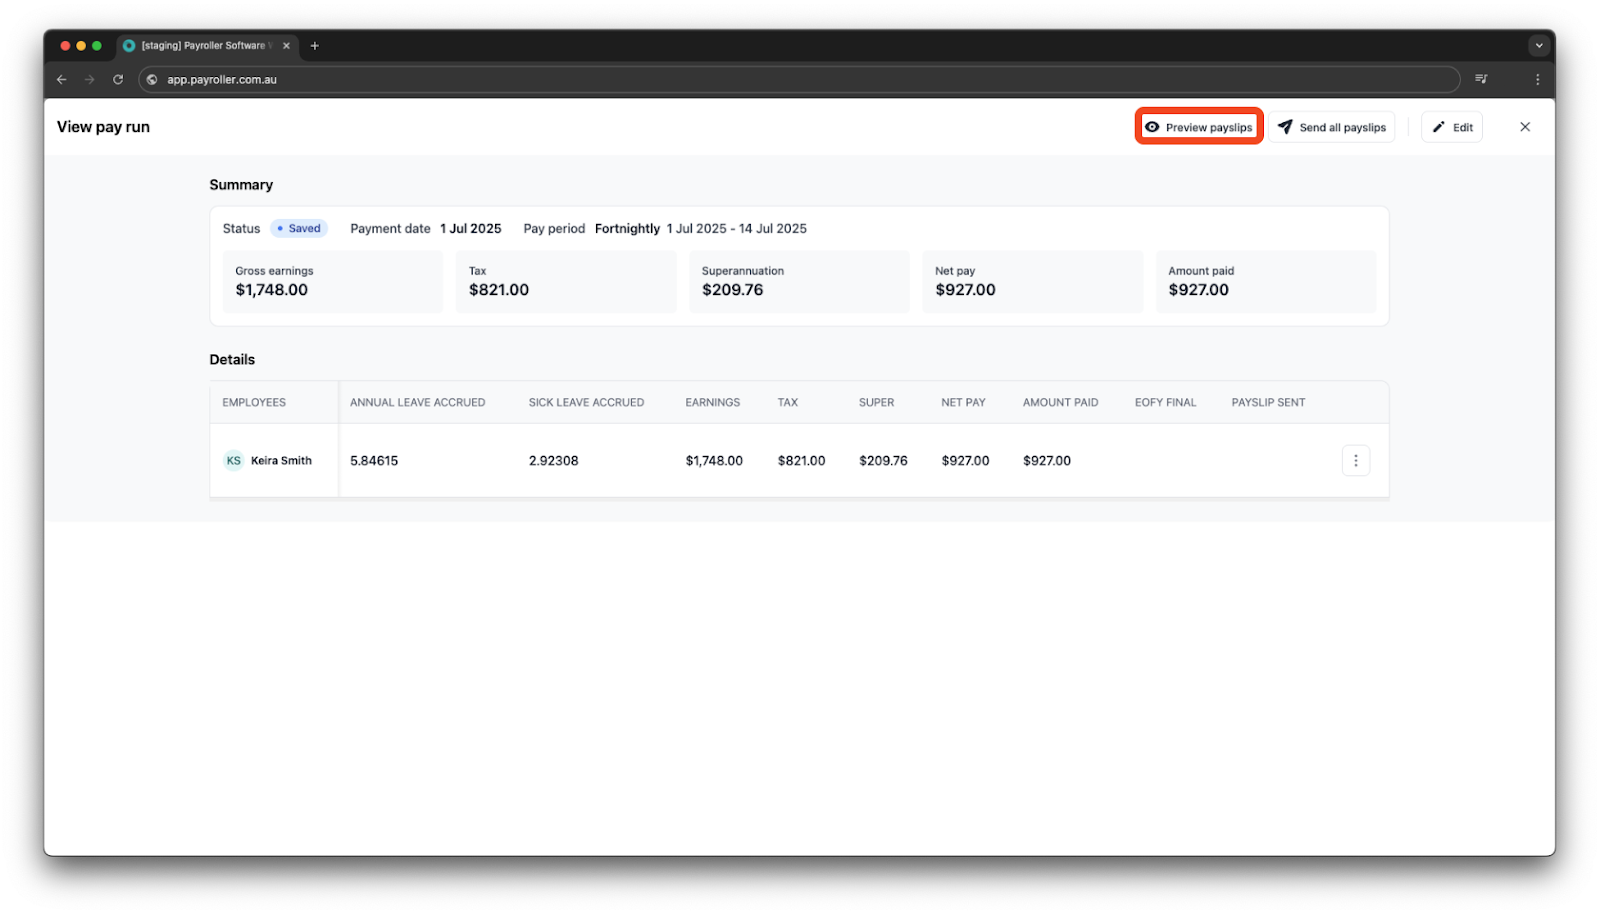
After creating a pay run, entering the dates, finalising the Adjust section, and clicking ‘Next‘, you’ll be taken to the Review page. You can also view the payslip from a completed pay run.
Here, you will have the option to Preview Payslip and/or Save and send a payslip.
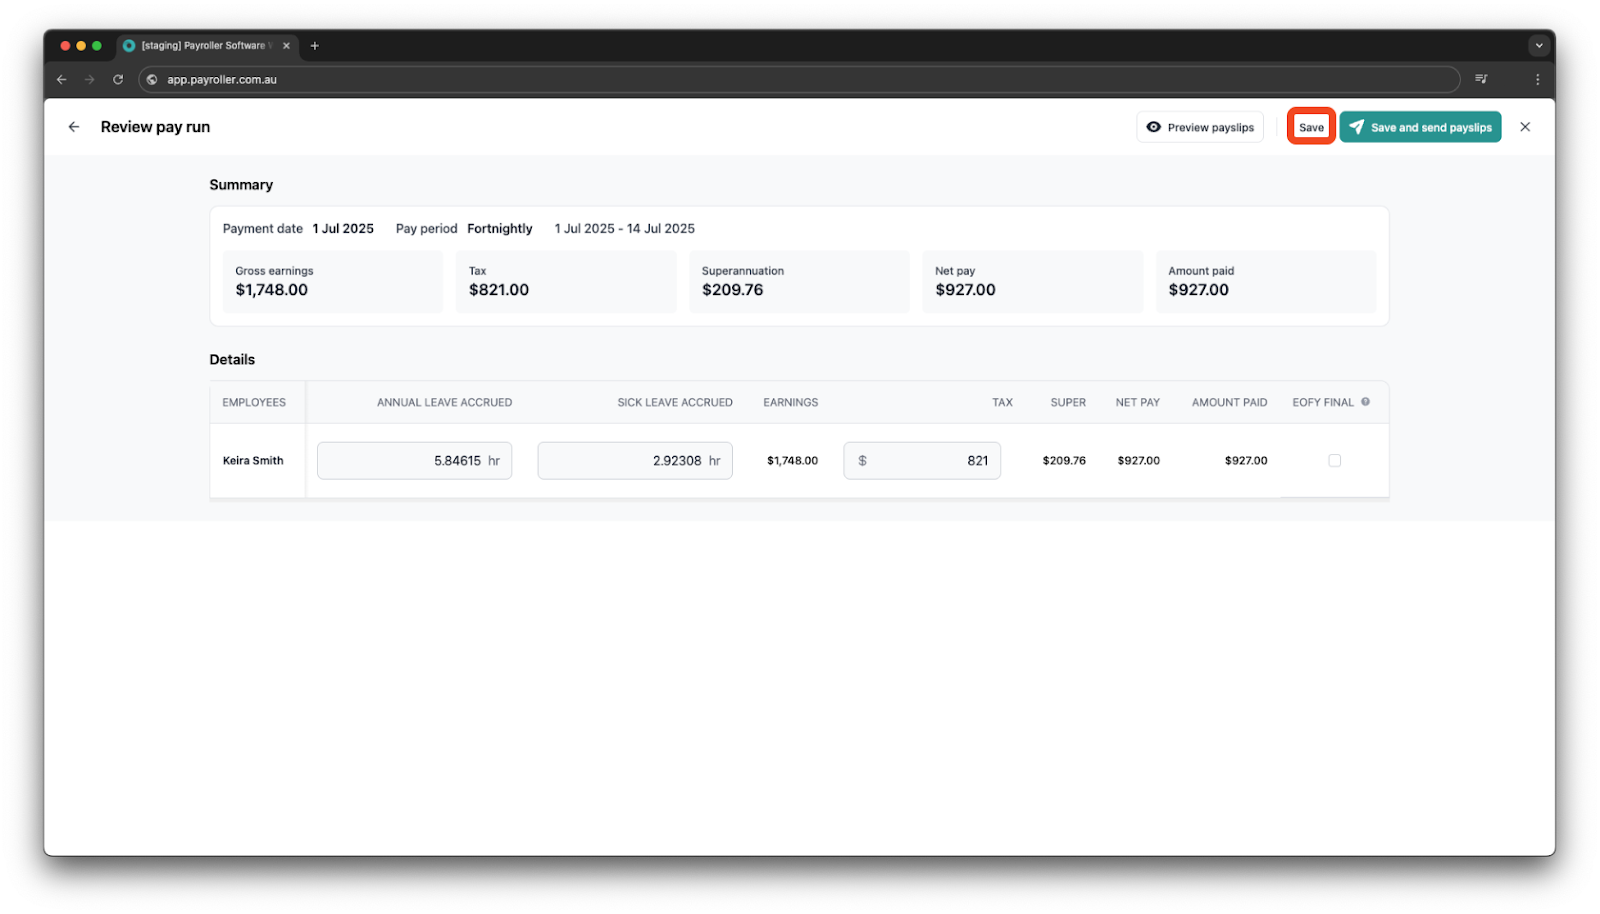
If you do not wish to send the payslip yet click ‘Save’.
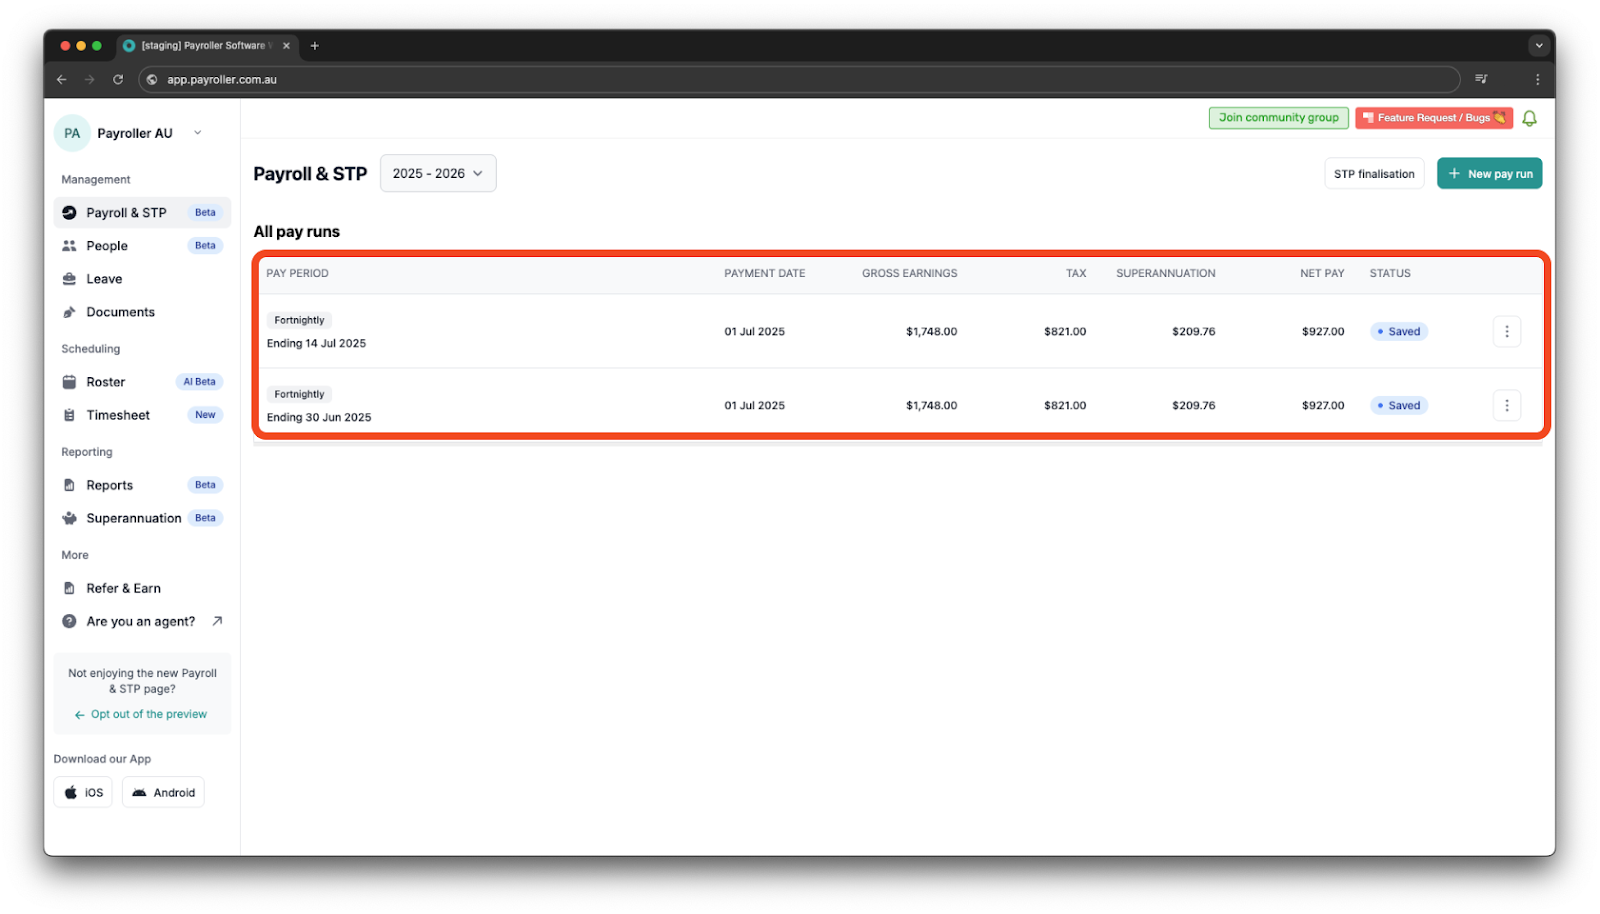
To view a payslip after you have completed your pay run.
Step 1: Select the pay run that you wish to view.
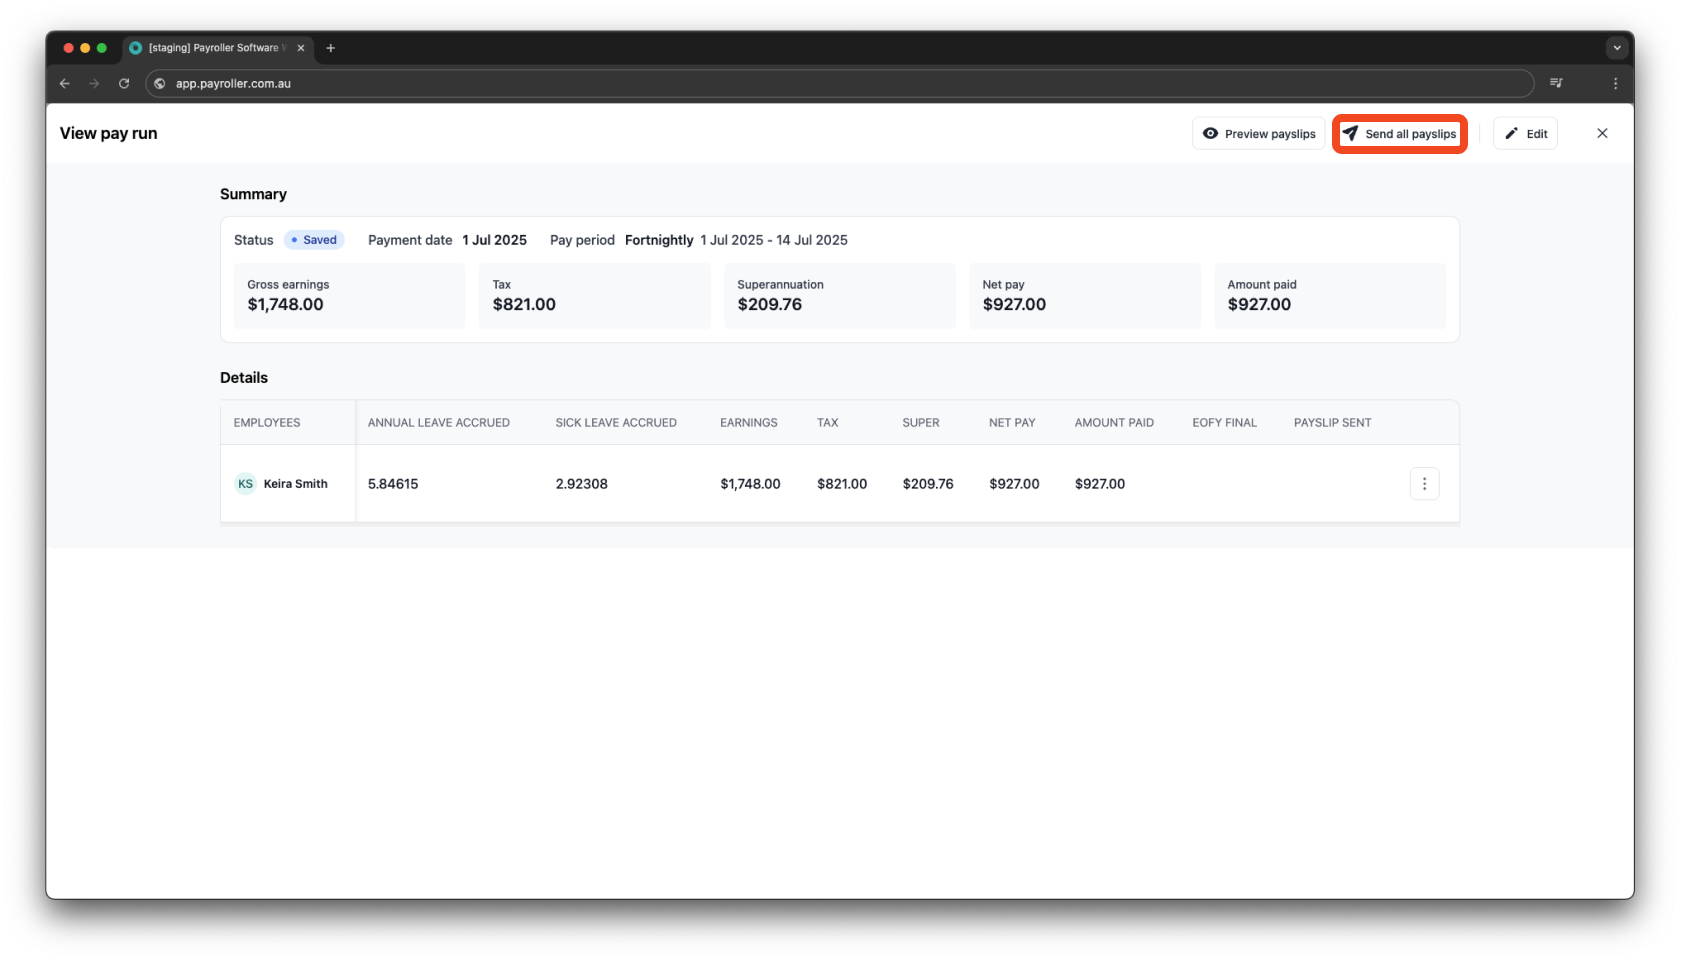
Option 1: To send payslips to all employees in the pay run, click on the green ‘Send all payslips’ button.
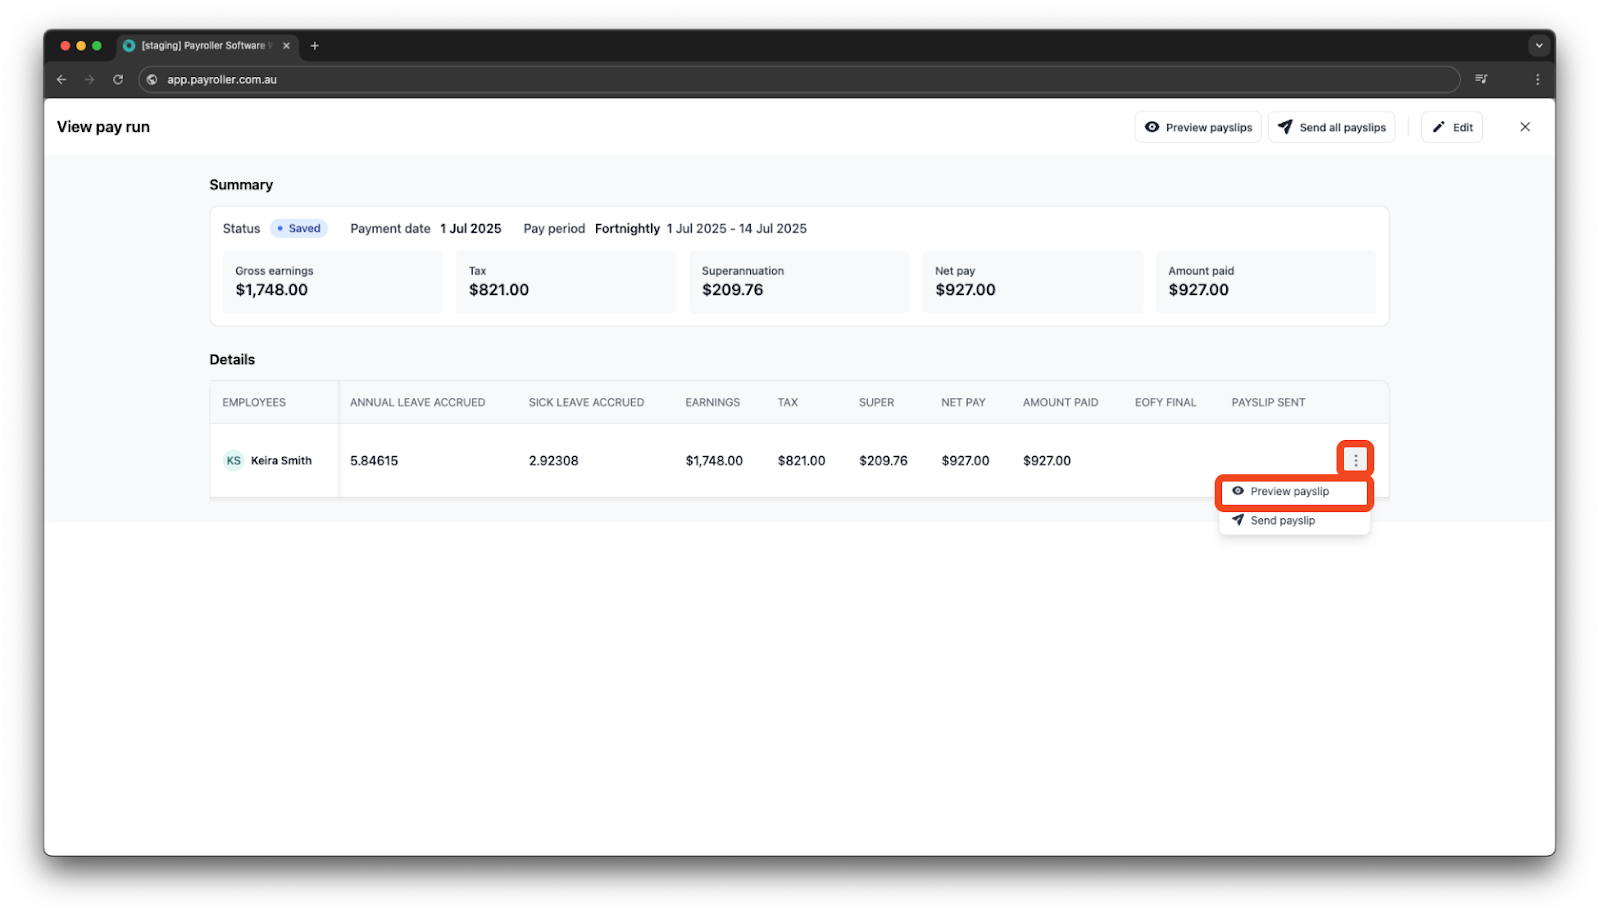
Option 2: To send a single payslip to an employee, click on the three dots on their details then click ‘Send payslip’.

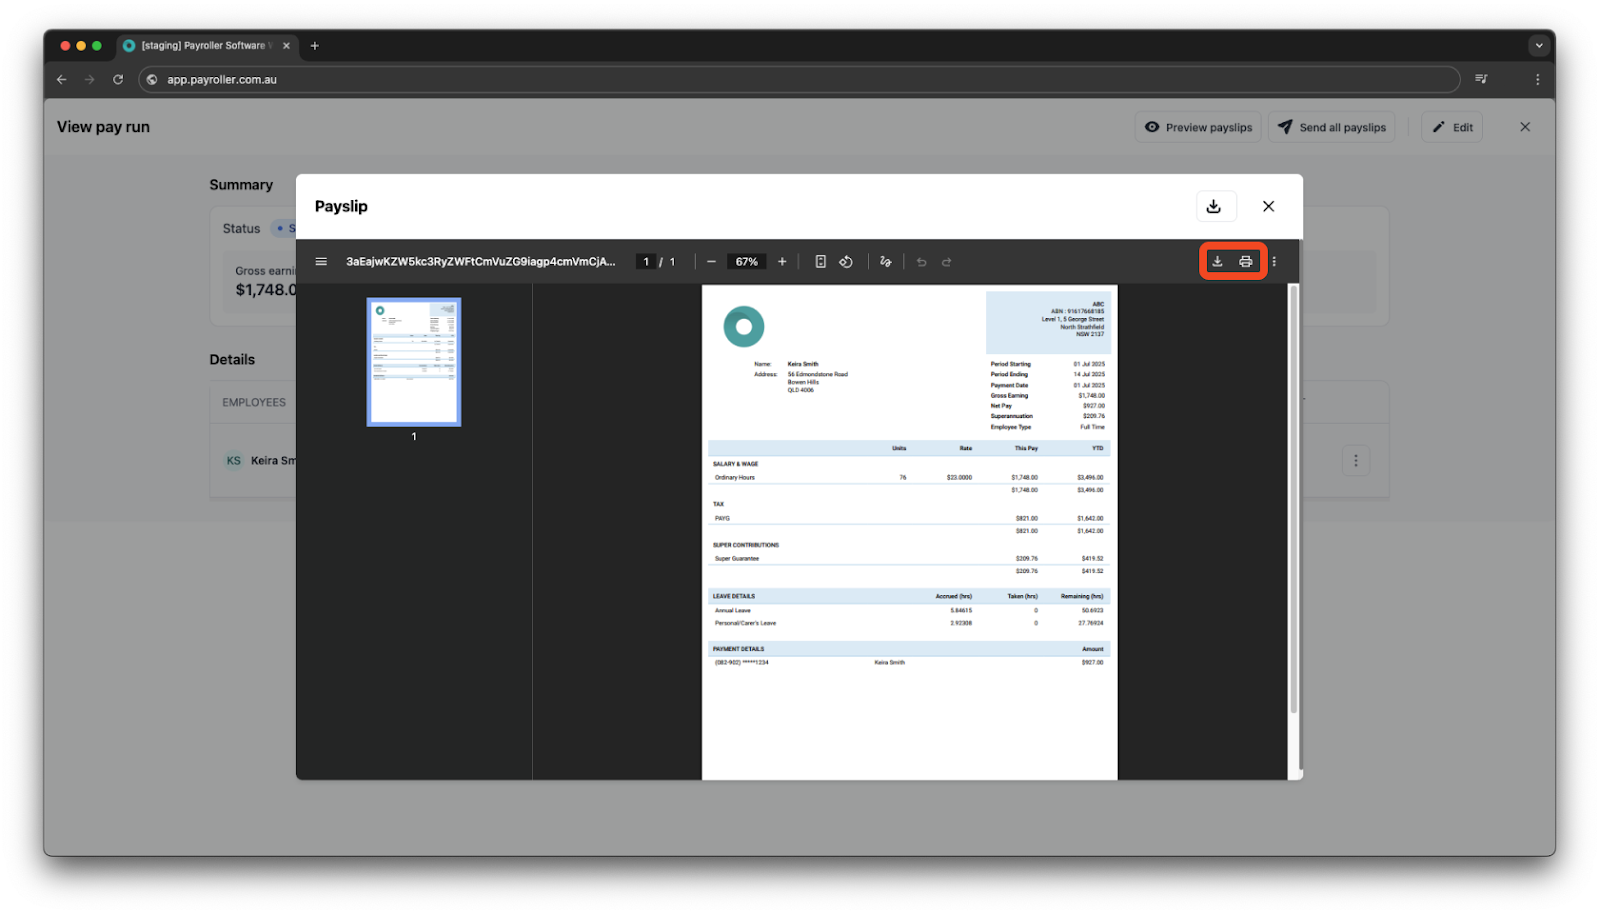
Option 3: If you wish to view, print, or download all of the payslips, click the ‘Preview Payslip’ button.
Once you do this, you will see the relevant download and print buttons.
Option 4: To view, print, or download the payslip of a single employee, click on the three dots on their details then click ‘Send payslip’.
Once you click the green page button, you will see the relevant print and download buttons.
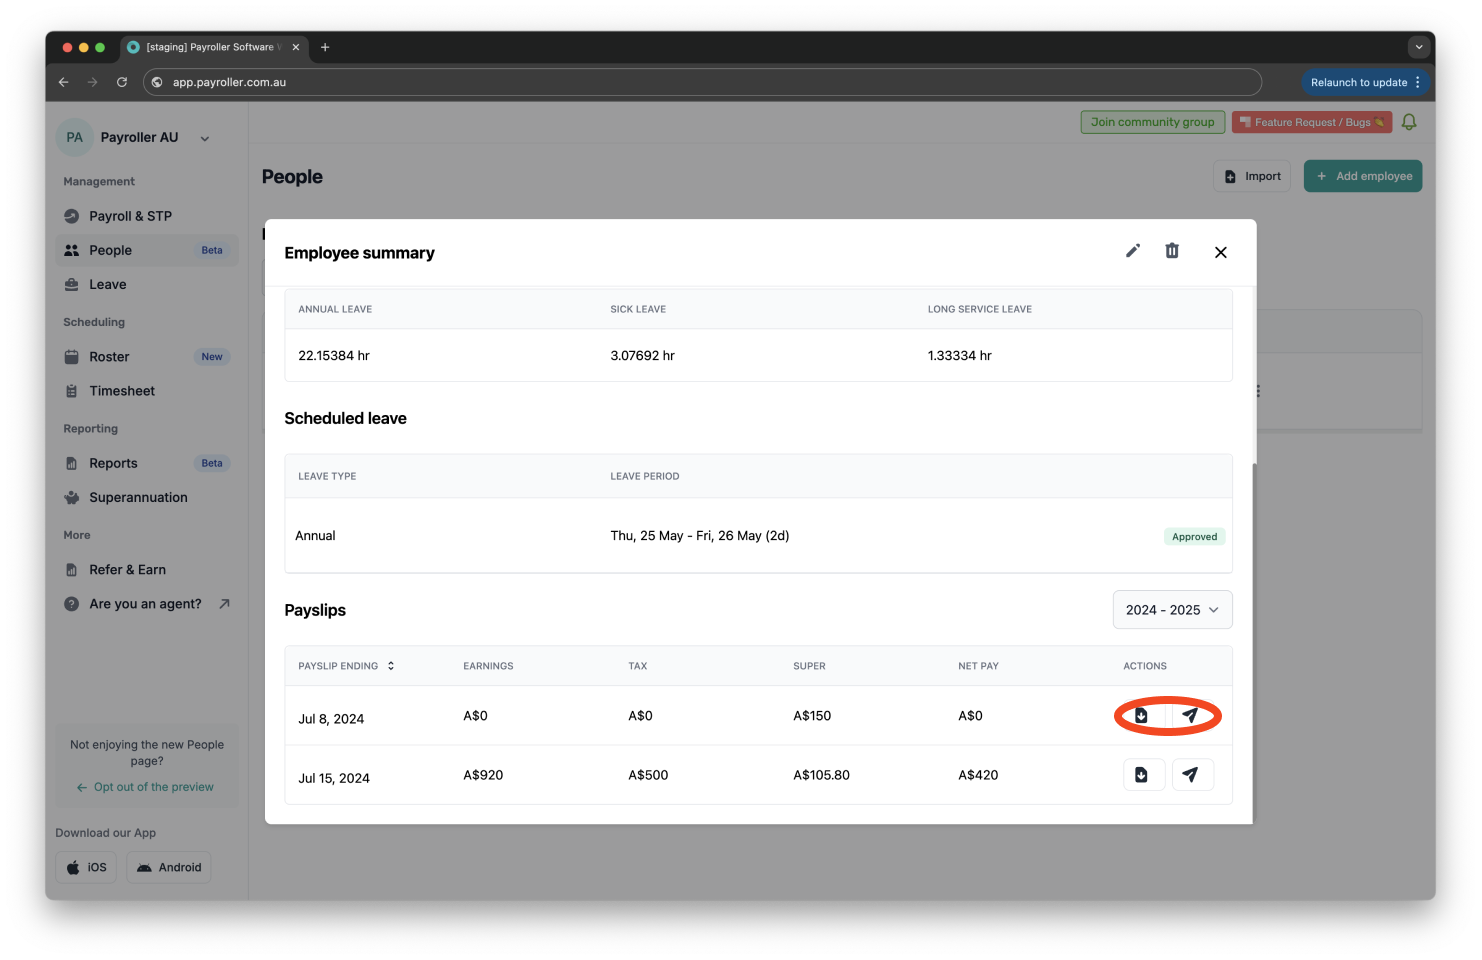
You can also view and send individual employee payslips in the People section by clicking on the employee’s card.
If the payslip isn’t in their junk mail, please reach out to us at hello@payroller.com.au.
Learn how to make changes to pay runs relating to pay rates and extra hours with our other simple guides below:
-
How to add extra hours for employees in a pay run (ordinary hours or overtime hours)
-
How to add overtime for employees in a pay run (extra hours worked)
Discover more tutorials & get the most out of using Payroller
Learn more about easily creating and editing pay runs with our simple guides.
Want access to full Payroller features on web and mobile app? Sign up for a Payroller subscription for synced payroll across all devices. Read up on our Subscription FAQs.