Learn how to set up your Payroller account as an Employer or Agent
Learn how to set up your Payroller account as an Employer or Agent with our simple guide below.
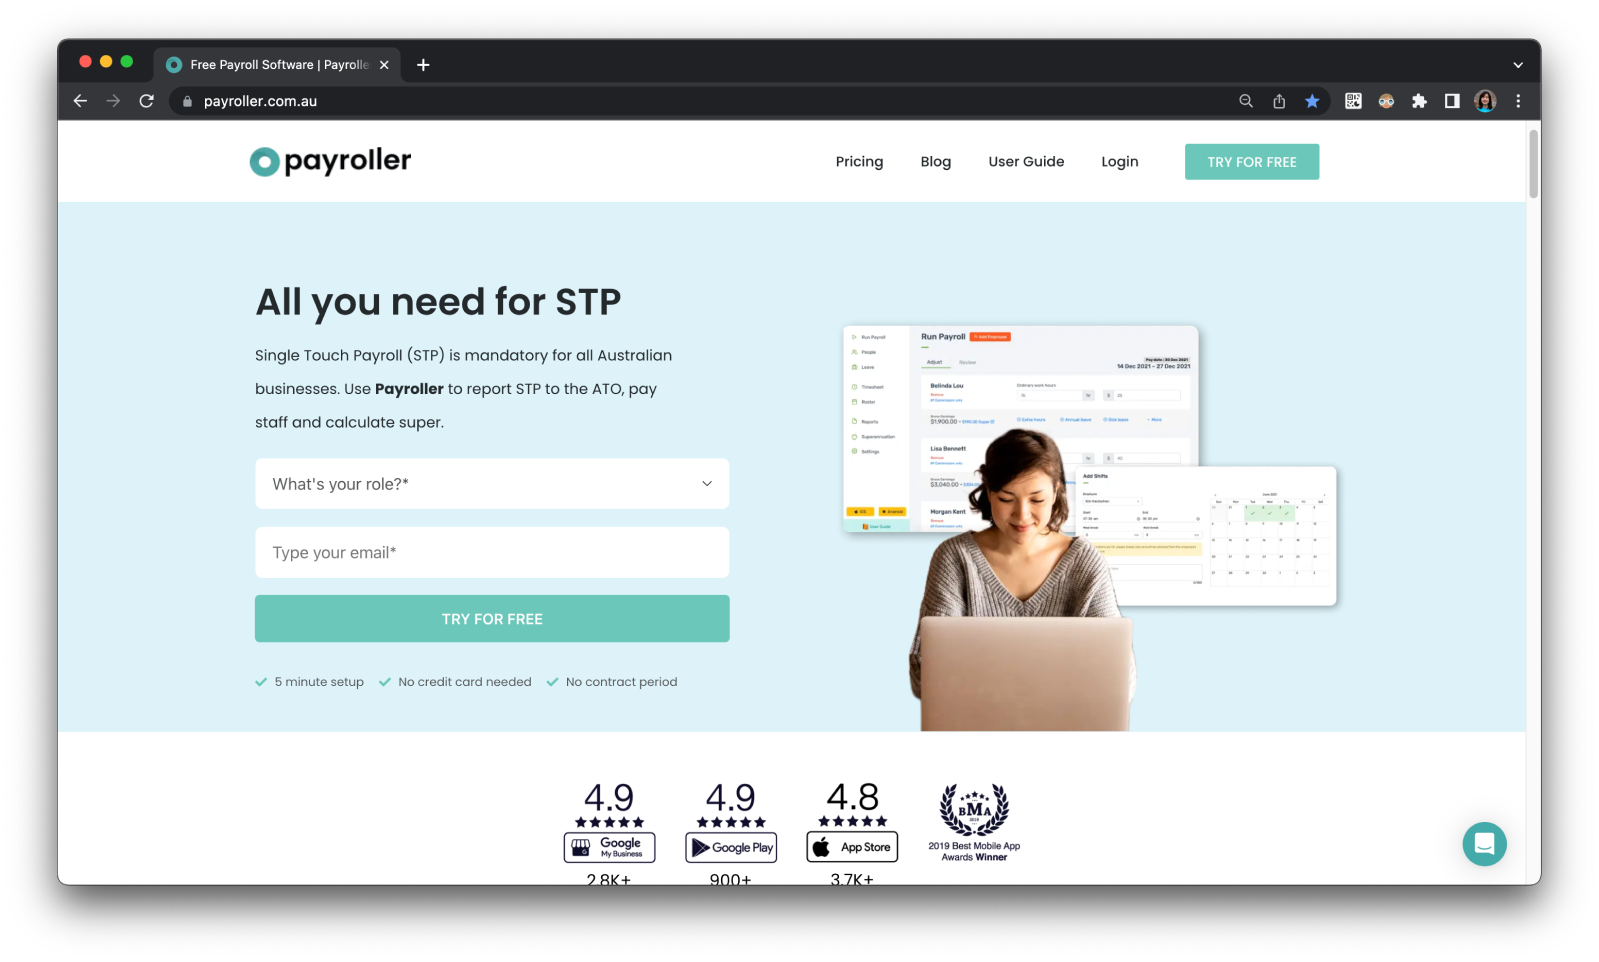
Step 1: Visit the Payroller website https://payroller.com.au.
You can sign up using two different methods;
Sign up via the ‘Try for free’ button

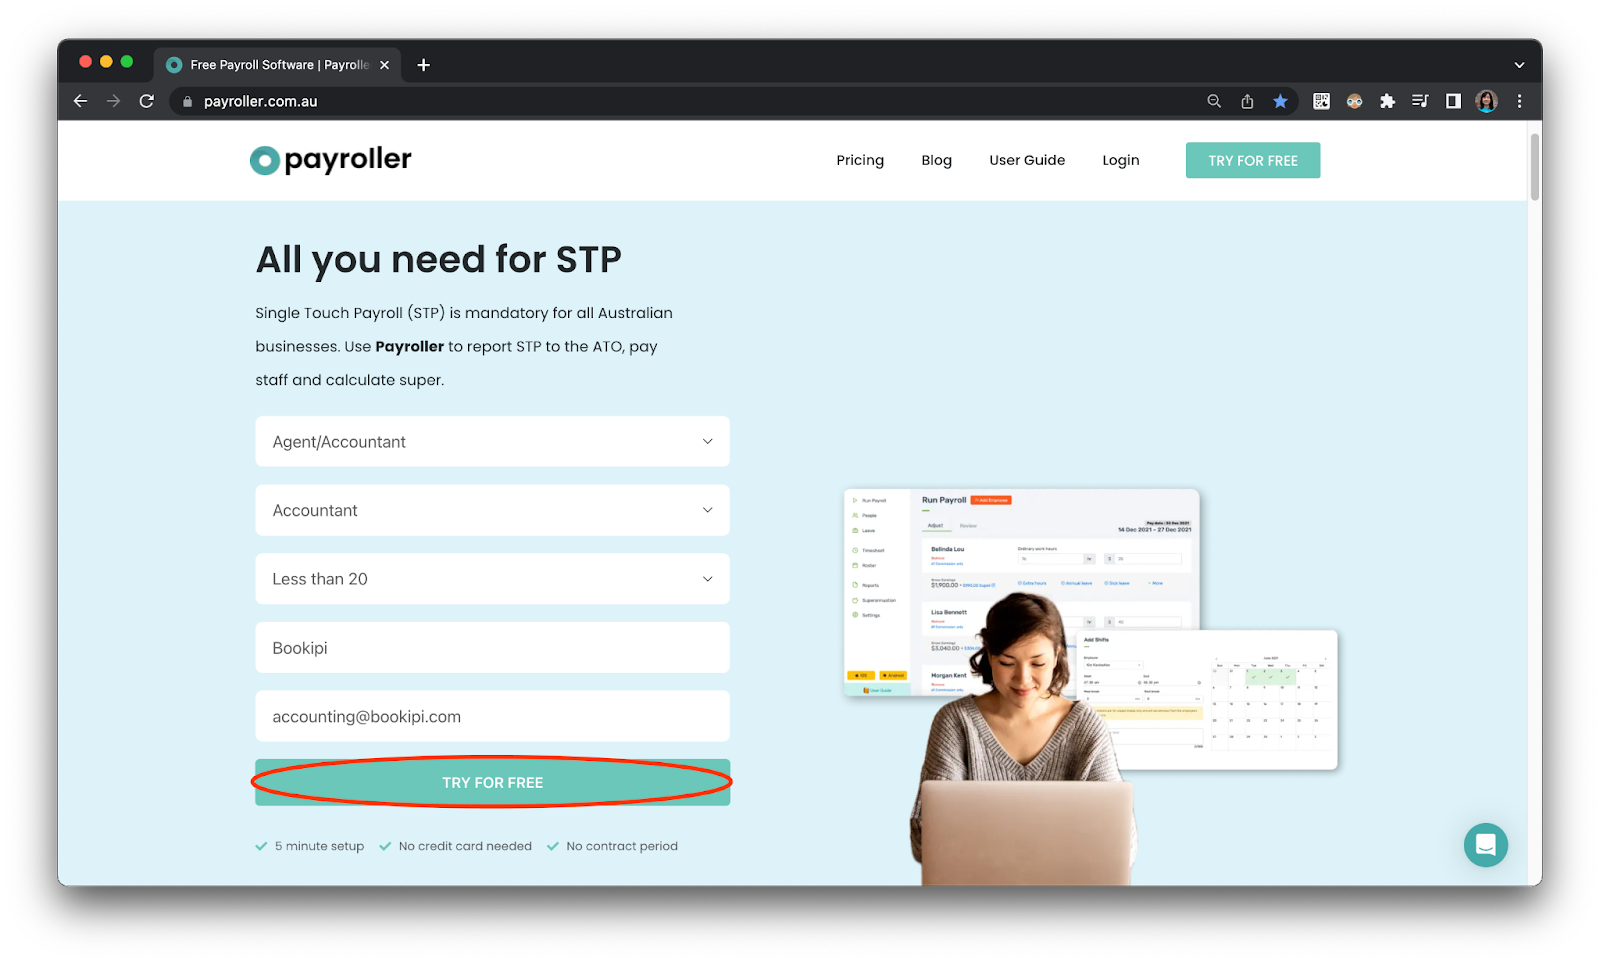
Step 2: Click on any of the ‘Try for free’ buttons.
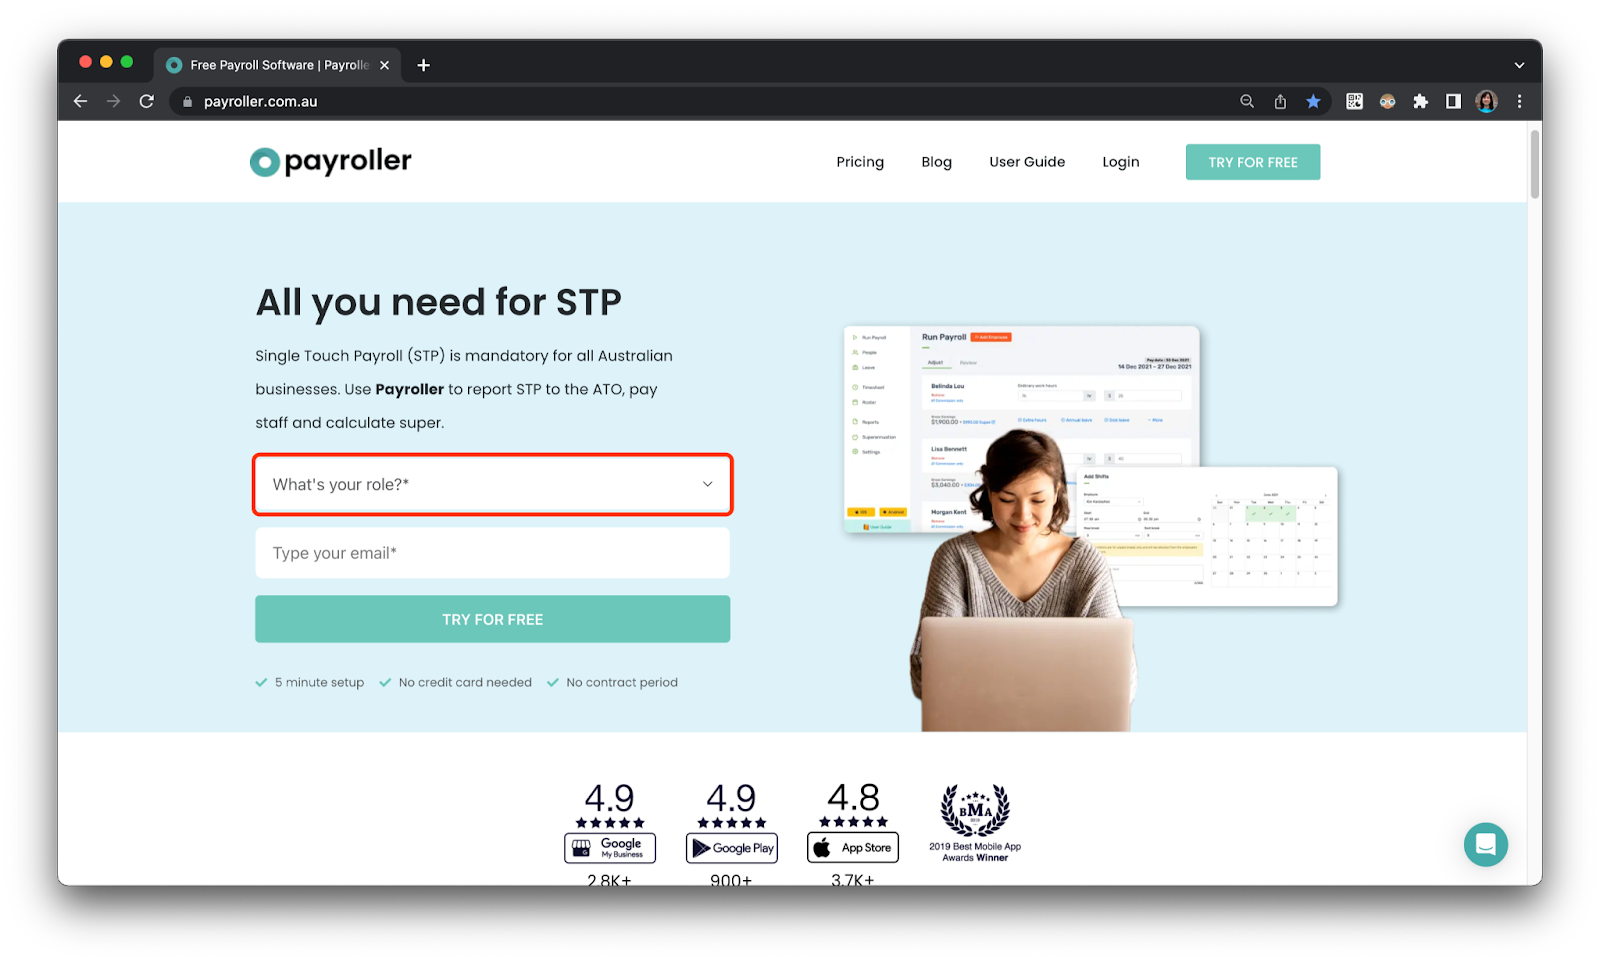
Step 3: Add ‘Employer’ for your role if you plan on solely managing your organization’s payroll.
Add ‘Agent/Accountant’ if you are planning on managing payroll for multiple companies.
Onboarding as Employer
Step 3: If you are onboarding as an employer you will need to enter ‘Employer’ as your role and email address and select ‘Try for free’.

Your account has now been created.
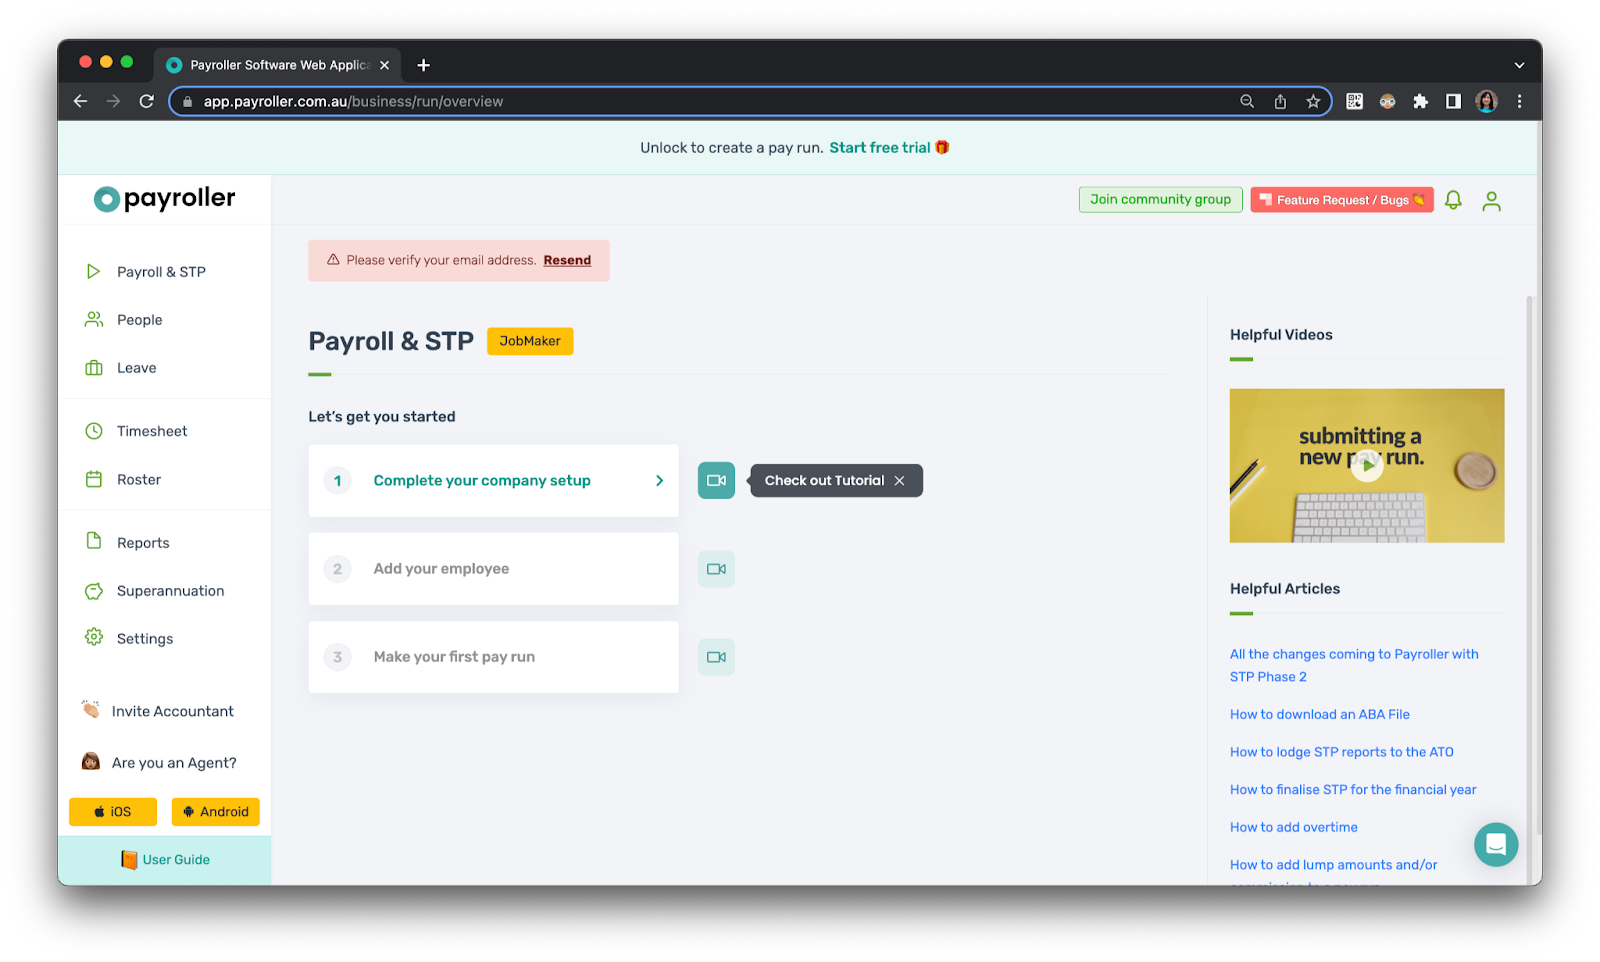
You are now ready toverify your account, set up your company, enable STP, and set up 2-factor authentication.
Onboarding as Tax Agent/Bookkeeper
Step 3: If you are onboarding as an agent, you will need to select ‘Agent/Accountant’ as your role.

Step 4: After you have selected your role, you will need to enter the type of agent you are, the number of clients, your company name, and your email address.
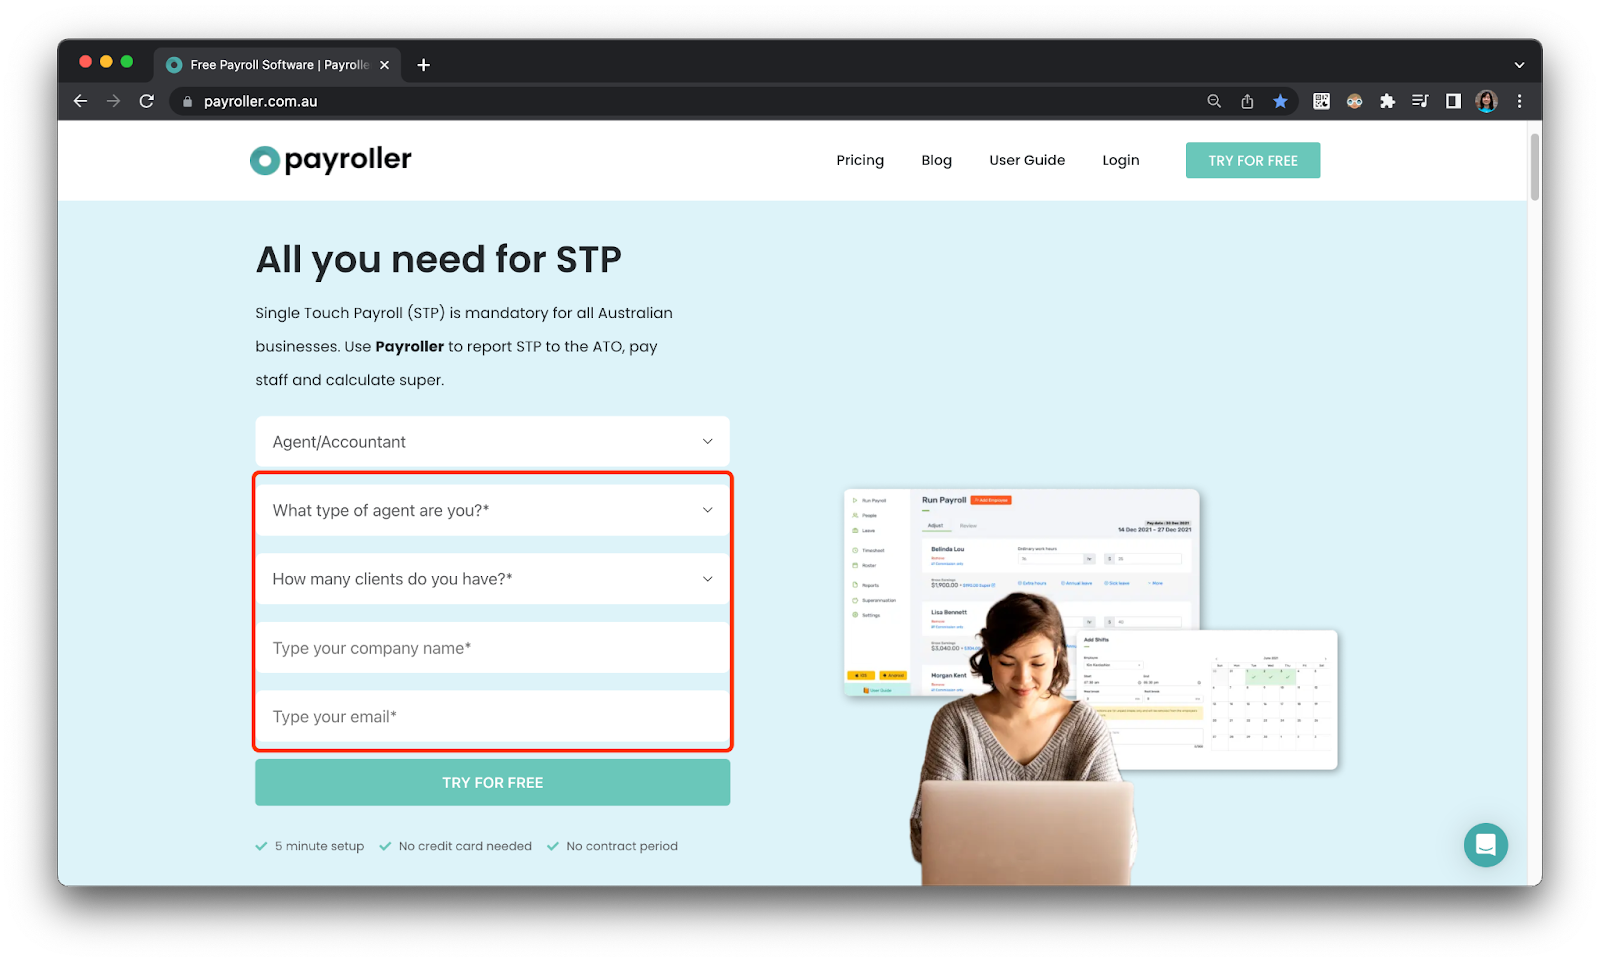
Step 5: Once you have filled out your details select ‘Try for free’.
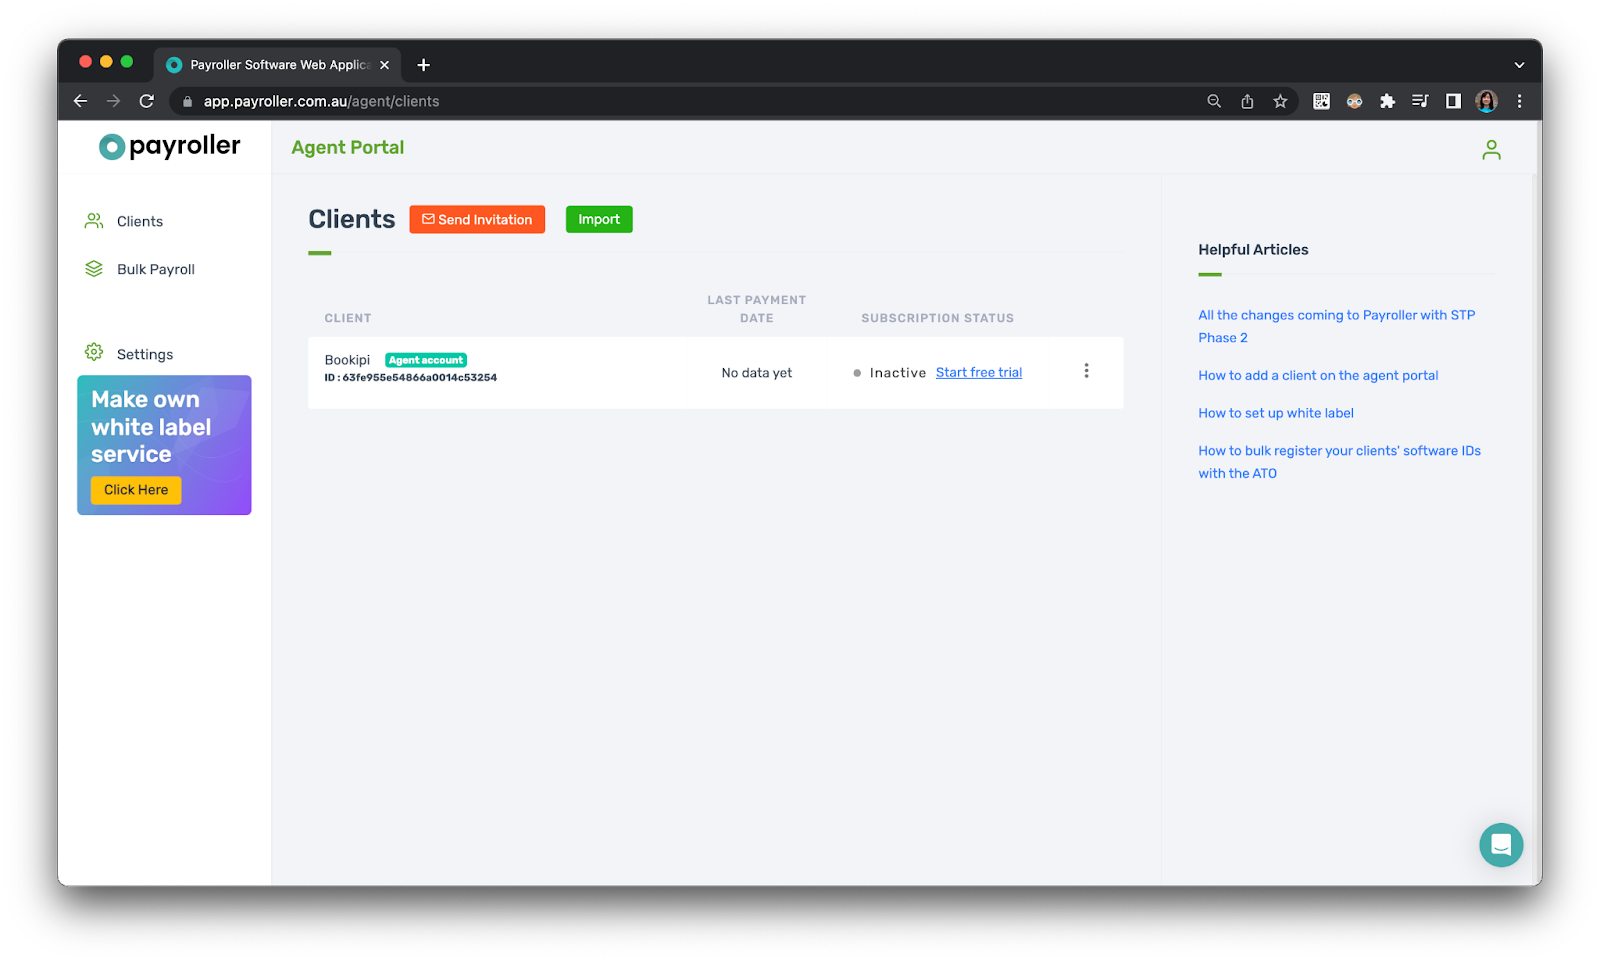
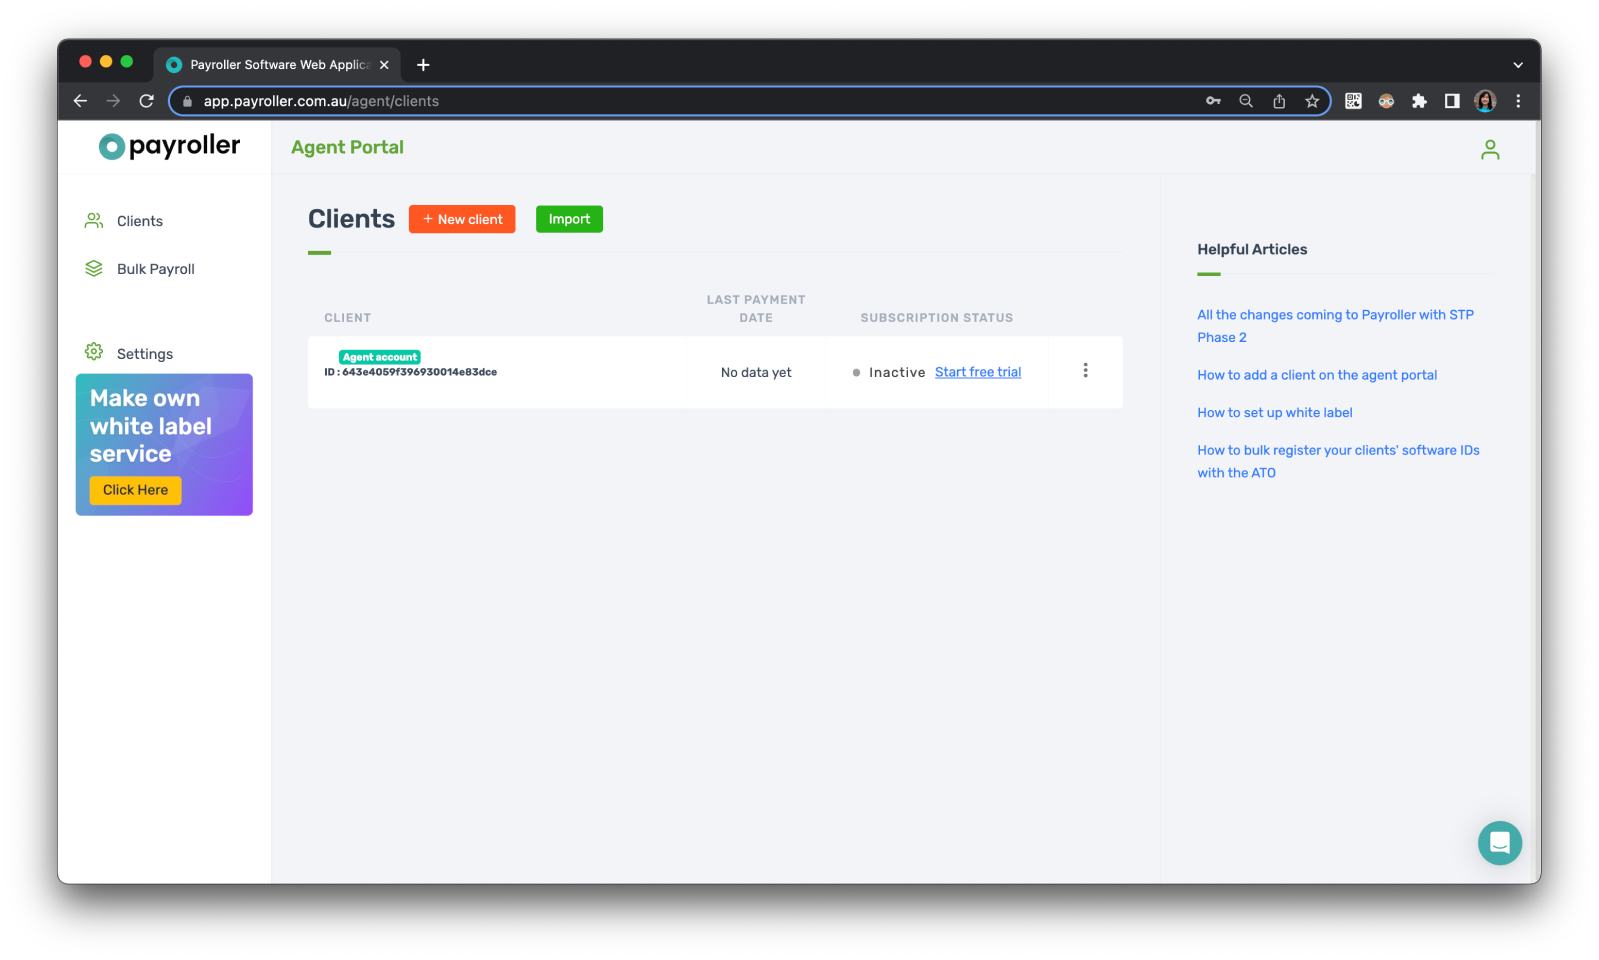
You have now created an agent account. The first card is your own personal agent business account should you choose to run a pay run for your employees through Payroller.
Once that’s complete you are now ready to start inviting or importing your clients onto Payroller. You should have also received an email to verify your account, set your password, enable STP, and set up 2-factor authentication.
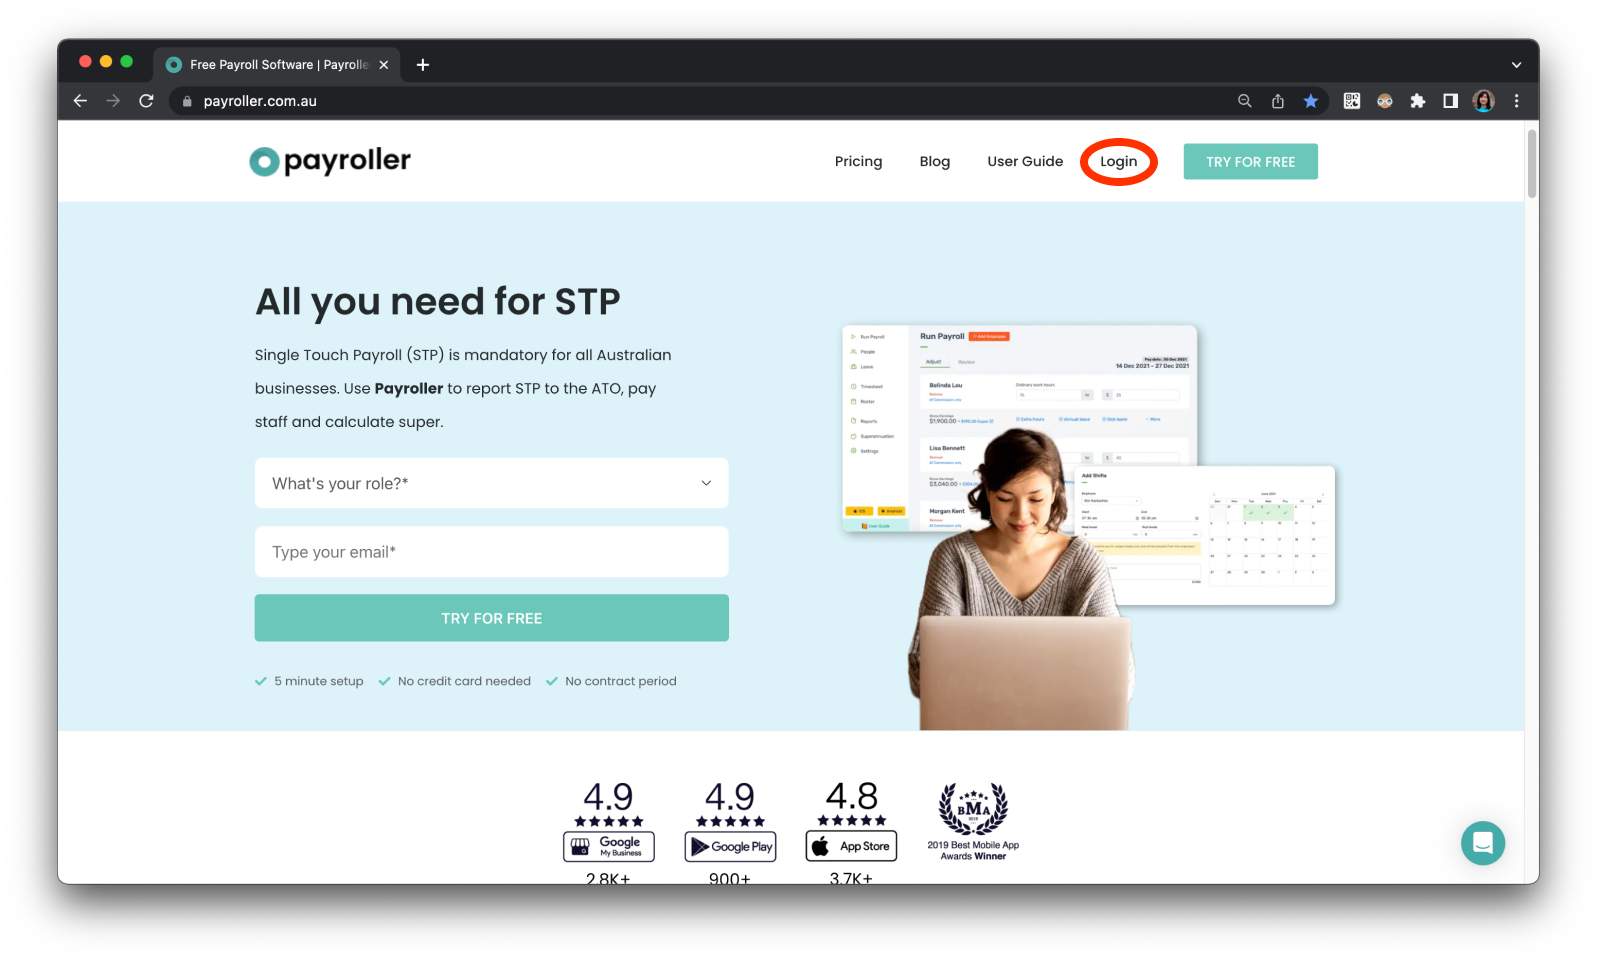
Sign up via the ‘Login’ button
Step 1: Select ‘Login’.
Step 2: Select ‘Sign up’.
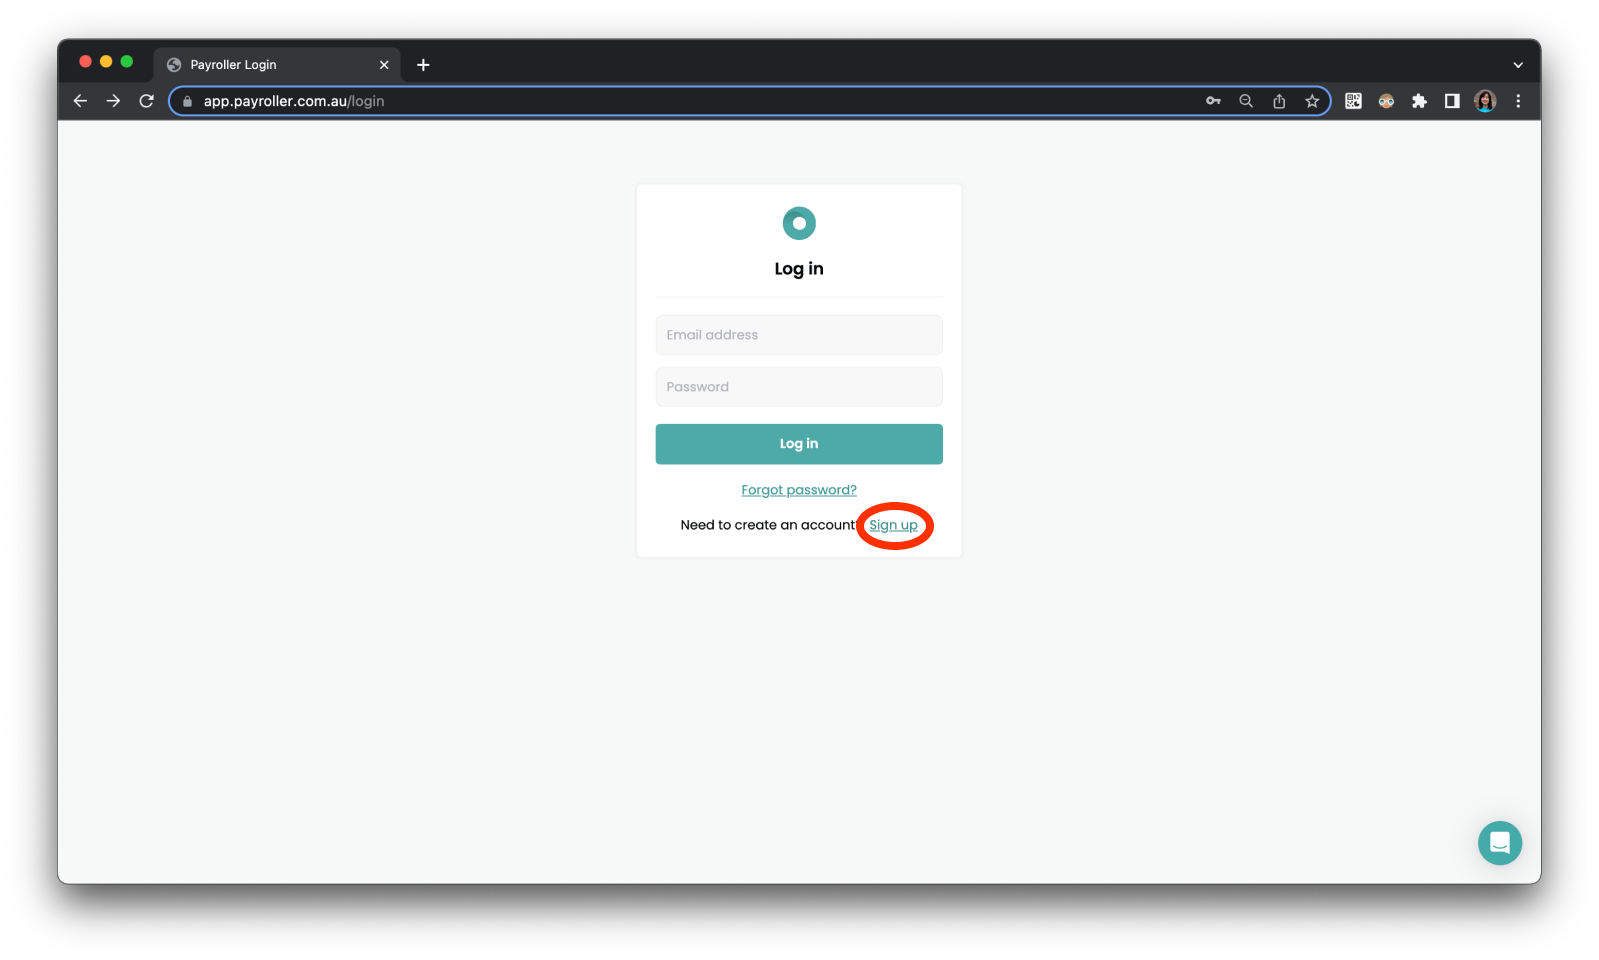
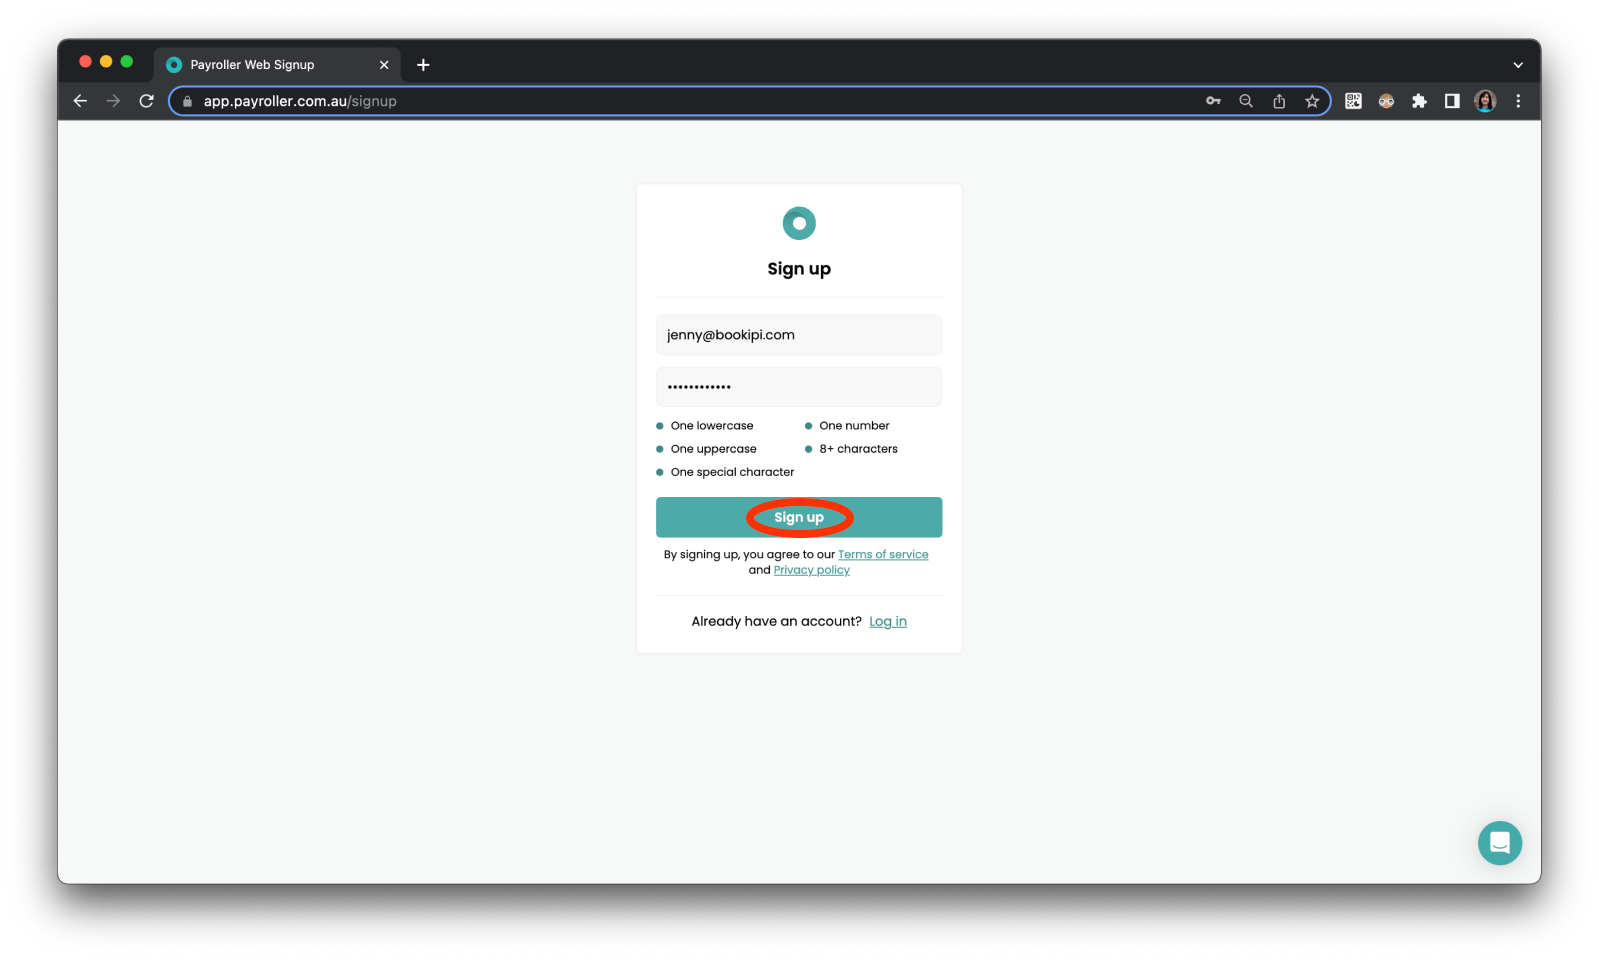
Step 3: Enter your email address and set up a strong password and select ‘Sign up’.
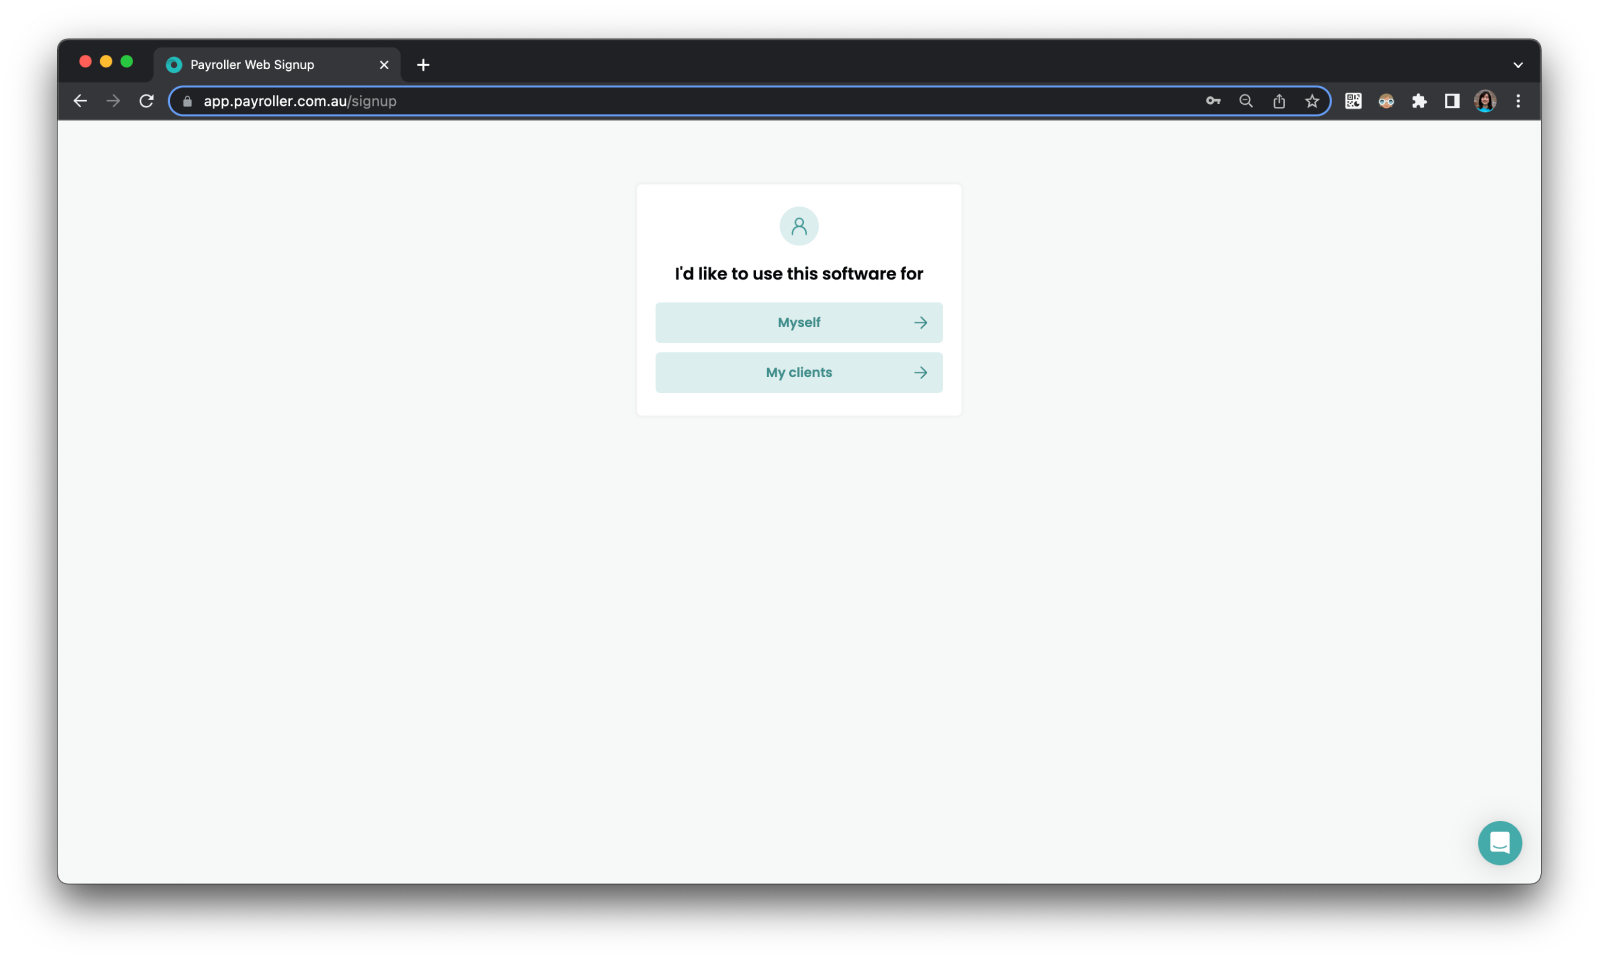
Step 4: Select ‘Myself’ if you are an employer. Select ‘My clients’ if you are an agent.
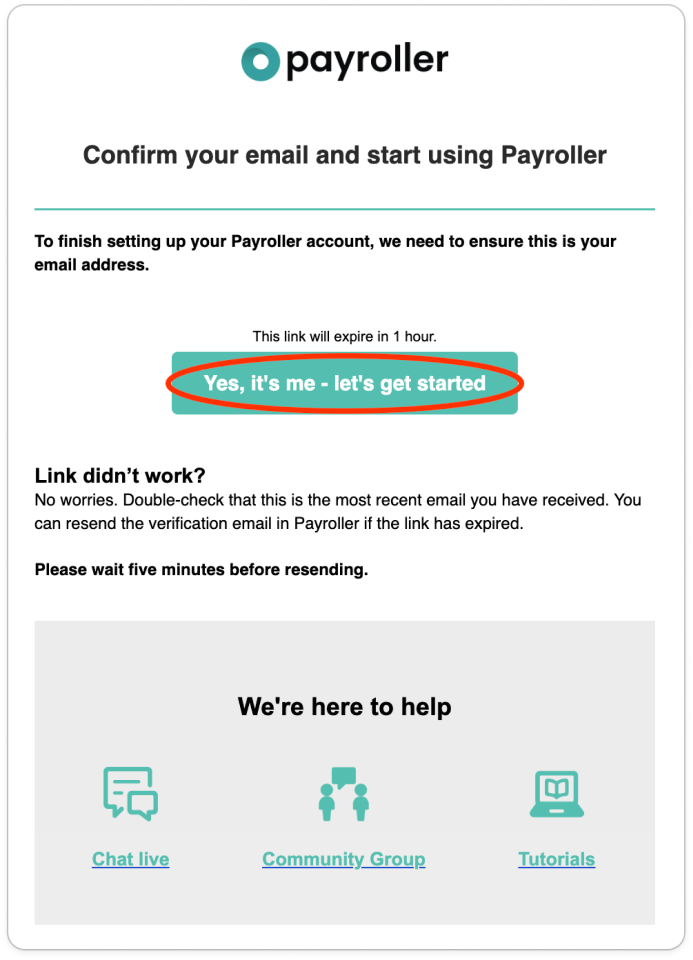
An email should now have been sent to your email address to verify your email.
Step 5: Select ‘Yes, it’s me – let’s get started’.
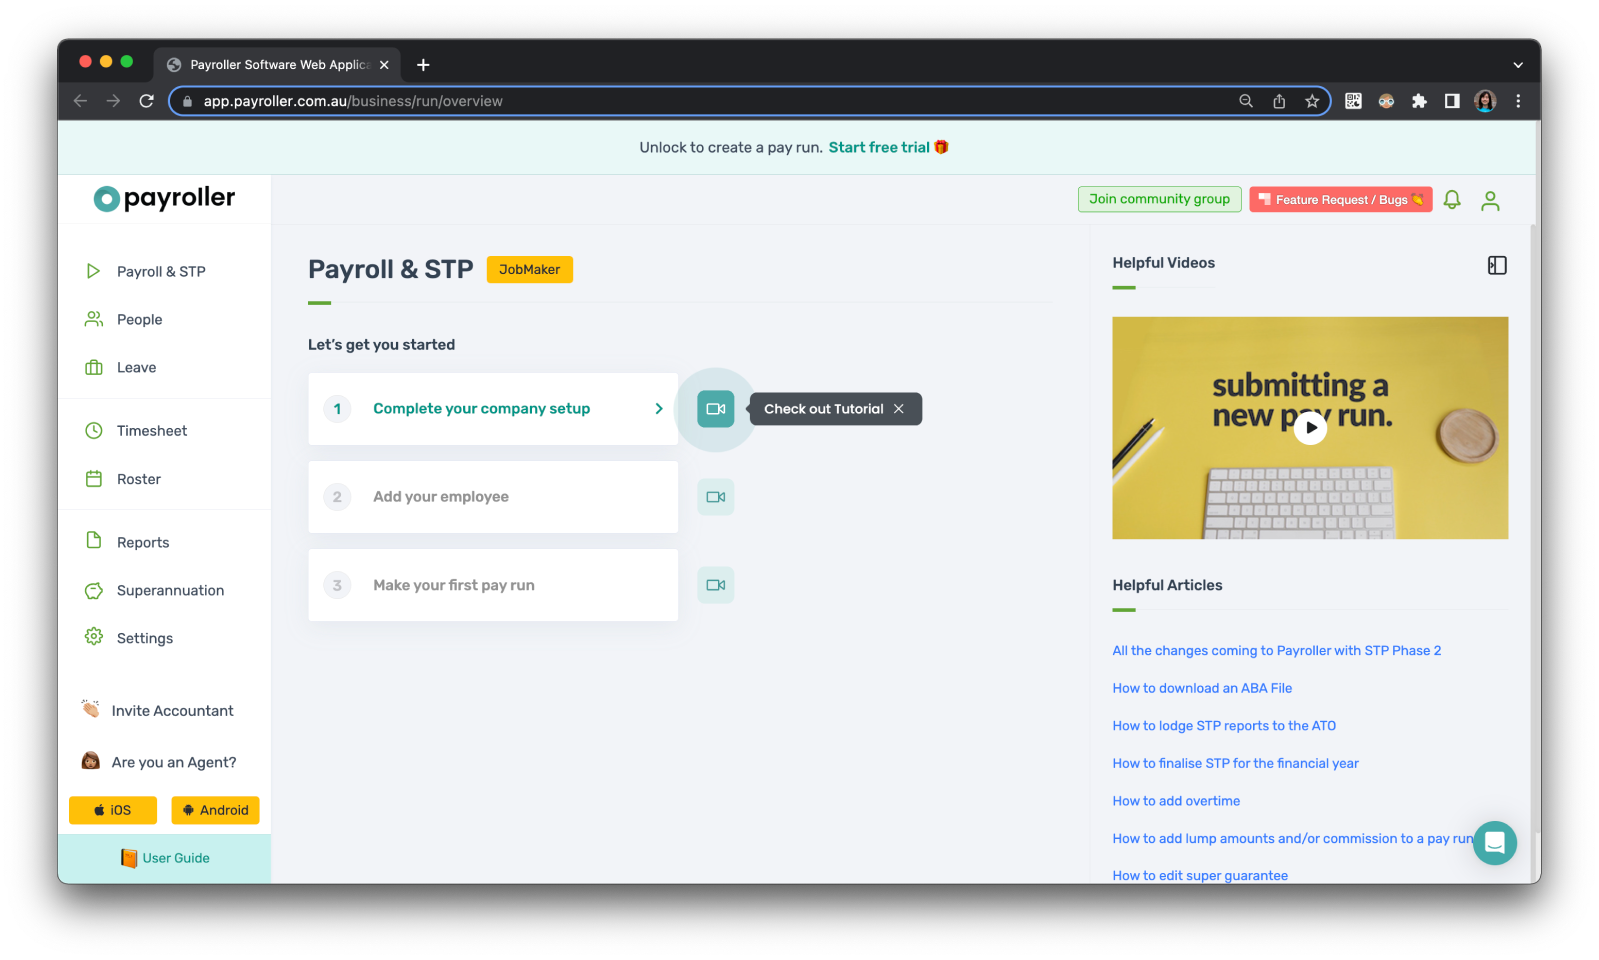
You have successfully created an account.
If you selected ‘Myself’ you should see the screen below for your employer account.
If you select ‘My clients’ you should see this screen for your agent account.
The first card is your own personal agent business account should you choose to run a pay run for your employees through Payroller.
You are now ready to start inviting or importing your clients onto Payroller. You should have also received an email to verify your account, set your password, enable STP, and set up 2-factor authentication.
Discover more tutorials & get the most out of using Payroller
Get started with making a pay run by adding an employee with our simple guides.
Try out Payroller for free. Access full Payroller features in web and mobile app with a Payroller subscription. Read our Subscription FAQs.